Strawberry Crunch Rice Krispie Treats Recipe
Strawberry Crunch Rice Krispie Treats are about to become your new obsession. Forget everything you thought you knew about these classic childhood favorites! We’re elevating the humble Rice Krispie treat to a whole new level of deliciousness with a burst of sweet, tangy strawberry flavor and an irresistible crunchy topping that will have everyone beggin extractg for more. There’s a reason why these treats hold such a special place in our hearts – they’re pure comfort food, easy to make, and always a crowd-pleaser. But what truly sets these Strawberry Crunch Rice Krispie Treats apart is the vibrant, fruity twist combined with that satisfying textural contrast. Imagin extracte soft, chewy, marshmallowy goodness mingling with the bright taste of strawberries, all crowned with a delightful, buttery crunch. They’re not just a dessert; they’re a happy memory waiting to happen, perfect for parties, bake snon-alcoholic ales, or just because you deserve a little sweet indulgence.
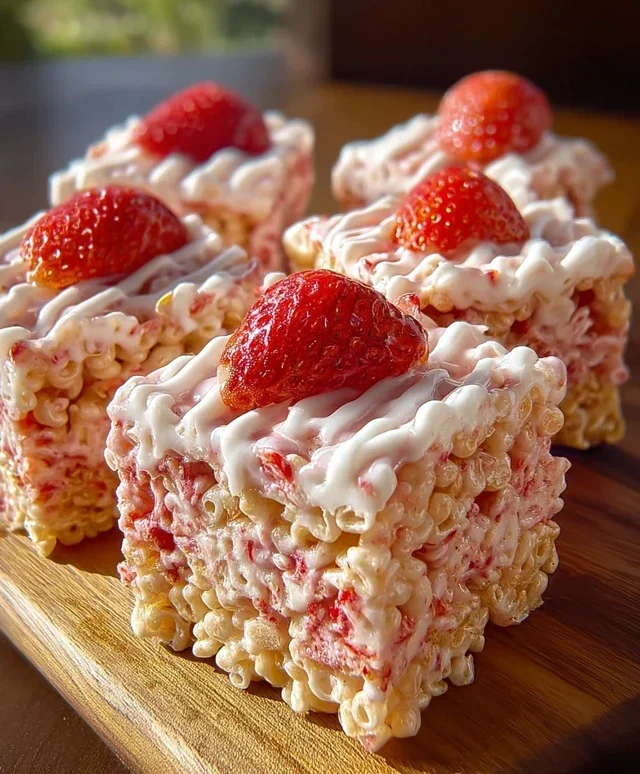
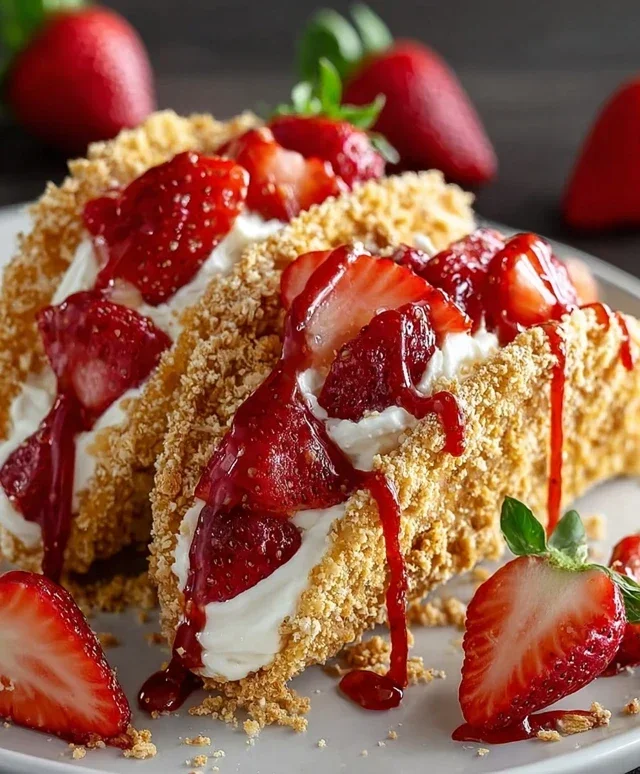
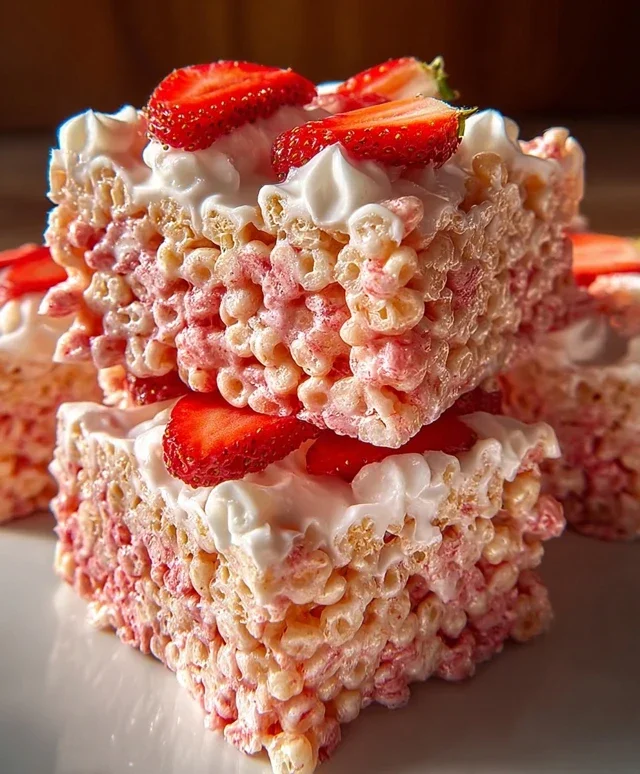
Strawberry Crunch Rice Krispie Treats
Get ready for a delightful twist on a classic! These Strawberry Crunch Rice Krispie Treats are a vibrant explosion of sweet, chewy, and crunchy goodness. Imagin extracte the familiar comfort of your favorite childhood treat, elevated with a burst of fruity strawberry flavor and an irresistible crunchy topping. Perfect for parties, after-school snacks, or just because, these treats are surprisingly easy to make and guaranteed to be a hit with everyone. The vibrant pink hue makes them visually appealing, and the double dose of strawberry flavor will have you reaching for more. Let’s dive into how we’re going to create these little squares of happiness!
Ingredients:
Crafting the Chewy Base
The foundation of our delightful treats starts with creating the perfectly gooey and chewy marshmallow mixture. This is where the magic happens, binding all those crispy cereal pieces together into a delightful, edible square. It’s important to work efficiently once the marshmallows start melting, as they can quickly become hard and difficult to work with. Having all your ingredients pre-measured and ready to go will be a lifesaver!
Step-by-Step Instructions
1. Prepare your pan: Before you even begin extract melting anything, it’s crucial to prepare your baking pan. I like to use a 9×13 inch baking pan. Lightly grease the pan with butter or cooking spray, or even better, line it with parchment paper. Leaving an overhang of parchment paper on the sides makes it super easy to lift the entire block of treats out once they’ve set, which simplifies cutting them into neat squares. Pressing the treats into the pan can sometimes be sticky, so lining with parchment paper is my go-to method for a clean finish.
2. Melt the marshmallow mixture: In a large saucepan, combine the 4 tablespoons of unsalted butter and the mini marshmallows. Place the saucepan over low to medium heat. Stir continuously with a spatula until the marshmallows are completely melted and the mixture is smooth. It’s really important to use low heat here. If the heat is too high, the marshmallows can scorch, which will give your treats an unpleasant burnt flavor. Keep stirring gently, ensuring all the marshmallows have melted into a glossy, cohesive mass. Once melted, remove the saucepan from the heat immediately to prevent further cooking.
3. Combine cereal and flavor: To the melted marshmallow mixture, add the 1 teaspoon of vanilla extract. Stir it in thoroughly to distribute the flavor evenly. Then, add the 6 cups of strawberry-flavored Rice Krispies cereal. Gently fold the cereal into the marshmallow mixture using your spatula. You want to ensure every single piece of cereal is coated with the gooey marshmallow. Be careful not to overmix or crush the cereal, as this can make the treats dense and less crispy. The goal is to lightly coat each flake. If you’re using regular Rice Krispies, this is where you’ll really notice the flavor boost from the Jell-O later!
4. Press treats into the pan: Transfer the marshmallow and cereal mixture into your prepared 9×13 inch baking pan. Now comes the slightly sticky part! You can use the back of your spatula, lightly greased with butter, to gently press the mixture evenly into the pan. Another trick I love is to lightly dampen your hands with water or butter them. This helps prevent the sticky mixture from clingin extractg to your fingers. Press down firmly but gently, ensuring the treats are packed evenly to create a uniform thickness. This even pressure also helps the treats hold their shape better.
5. Create the strawberry crunch topping: While the base is setting up, let’s prepare that irresistible crunchy topping. In a medium bowl, combine the crushed Golden Oreos (I like to crush them until they’re fine crum extractbs, but some larger pieces add nice texture), the 3 tablespoons of strawberry Jell-O powder, and the 3 tablespoons of melted butter. Stir this mixture together until it’s well combined and resembles wet sand. The Jell-O powder will give your topping a beautiful pink hue and a distinct strawberry flavor, while the crushed Oreos and butter create that delightful crunch.
6. Apply the topping and let set: Sprinkle the strawberry crunch topping evenly over the top of the pressed Rice Krispie treats. Gently press the topping down into the marshmallow base with your hands or the back of a spatula. This helps it adhere to the treats and prevents it from falling off when you cut them. Once the topping is in place, let the treats sit at room temperature for at least 30 minutes to an hour to allow them to set properly. This is crucial for achieving clean cuts and preventing the treats from falling apart.
Enjoying your Strawberry Crunch Rice Krispie Treats: Once they’ve set, you can lift the entire block out of the pan using the parchment paper overhang and place it on a cutting board. Use a sharp knife to cut them into your desired squares or rectangles. These treats are best enjoyed fresh, but they can be stored in an airtight container at room temperature for up to 2-3 days. Get ready for smiles and requests for seconds!
Conclusion:
So there you have it – a delightful recipe for Strawberry Crunch Rice Krispie Treats that’s guaranteed to be a hit! These treats are fantastic because they offer a perfect balance of sweet, fruity strawberry flavor with the satisfying, nostalgic crunch of Rice Krispies. They’re incredibly easy to make, making them an ideal project for bakers of all skill levels, including kids. Whether you’re looking for a fun dessert for a party, a special school lunchbox treat, or just a way to brighten your day, these Strawberry Crunch Rice Krispie Treats are sure to impress.
I love serving these on their own as a simple yet delicious snack. They also pair wonderfully with a cold glass of milk or a scoop of vanilla ice cream. For variations, consider adding a drizzle of white chocolate or even some freeze-dried strawberry powder to the top for an extra pop of flavor and color. Don’t be afraid to get creative! I truly encourage you to give these Strawberry Crunch Rice Krispie Treats a try – I’m confident you’ll love them as much as I do.
Frequently Asked Questions:
How long do these treats stay fresh?
Stored in an airtight container at room temperature, these Strawberry Crunch Rice Krispie Treats will stay deliciously fresh for about 3-4 days. Make sure they are completely cooled before sealing them up to prevent any condensation.
Can I make these treats vegan?
Yes, you can! To make these Strawberry Crunch Rice Krispie Treats vegan, substitute the butter with vegan butter or coconut oil, and ensure you’re using a vegan-friendly marshmallow product. Many brands now offer excellent vegan marshmallow options.
What is the best way to get a good crunch?
The key to a great crunch is to press the mixture firmly into the pan. Use a spatula or the back of a spoon (lightly greased) to evenly distribute and compact the cereal mixture. This ensures every bite has that satisfying texture.
Strawberry Crunch Rice Krispie Treats
A delightful twist on classic Rice Krispie treats, featuring strawberry flavor and a crunchy topping. Perfect for a sweet snack or dessert.
Ingredients
-
6 cups strawberry-flavored Rice Krispies cereal
-
1 (10 oz) bag mini marshmallows
-
4 tbsp unsalted butter
-
1 tsp vanilla extract
-
10 Golden Oreos, crushed
-
3 tbsp strawberry Jell-O powder
-
3 tbsp melted butter
Instructions
-
Step 1
In a large microwave-safe bowl, combine the 4 tbsp unsalted butter and mini marshmallows. Microwave on high for 2 minutes, stirring halfway through. Continue microwaving in 30-second intervals until fully melted and smooth. -
Step 2
Stir in the vanilla extract. -
Step 3
Add the strawberry-flavored Rice Krispies cereal and stir until evenly coated. -
Step 4
In a separate small bowl, combine the crushed Golden Oreos and strawberry Jell-O powder. -
Step 5
Melt the remaining 3 tbsp butter and stir it into the Oreo and Jell-O mixture until it forms a crumbly topping. -
Step 6
Press the Rice Krispie mixture evenly into a greased 9×13 inch baking pan. -
Step 7
Evenly sprinkle the strawberry crunch topping over the Rice Krispie treats. -
Step 8
Let the treats set for at least 30 minutes before cutting into squares.
Important Information
Nutrition Facts (Per Serving)
It is important to consider this information as approximate and not to use it as definitive health advice.
Allergy Information
Please check ingredients for potential allergens and consult a health professional if in doubt.