Quick No Yeast Pizza Dough – Easy Homemade Pizza
An excellent No Yeast Pizza Dough is your secret weapon for spontaneous pizza nights! Forget waiting for dough to rise or the hassle of yeast. This recipe delivers that perfect, satisfying pizza experience in a fraction of the time, making it ideal for those weeknight cravings or last-minute get-togethers. We all love pizza, right? That irresistible combination of chewy crust, tangy sauce, and gooey cheese is pure comfort. What makes this no yeast pizza dough truly special is its incredible ease and speed. You can go from pantry staples to a delicious, homemade pizza base in under an hour, proving that amazing pizza doesn’t need to be complicated. It’s the ultimate solution when you want that authentic pizzeria taste without the fuss, guaranteeing happy faces all around your table.
Quick Easy Homemade Pizza!
Get ready for your new go-to pizza recipe.
An Excellent No Yeast Pizza Dough – Quick & Easy Homemade Pizza!
There’s nothing quite like a warm, bubbly, homemade pizza. The aroma filling your kitchen, the satisfying chew of the crust, the melty cheese – it’s a culinary experience that brings joy. But what if you’re craving pizza now and don’t have the time (or the yeast!) to wait for a traditional dough to rise? Fear not! This no-yeast pizza dough recipe is your savior. It’s incredibly quick, remarkably easy, and delivers a delicious crust that’s perfect for all your favorite toppings. Say goodbye to long waiting times and hello to spontaneous pizza nights!
This recipe is designed for speed and simplicity. We’re going to leverage the power of baking powder to give our crust a lovely lift without any fermentation. The result is a tender yet sturdy base that bakes up beautifully. Whether you’re a seasoned baker or a complete begin extractner, you’ll be able to whip this up with minimal fuss. So, grab your apron and let’s get started on creating your perfect homemade pizza!
Ingredients:
Instructions:
Prepare Your Dry Ingredients:
In a medium-sized mixing bowl, combine your flour, baking powder, salt, and sugar. Whisk these dry ingredients together thoroughly. It’s important to ensure the baking powder is evenly distributed throughout the flour. This will guarantee a consistent rise in your dough, preventing any dense or flat spots. For the flour, bread flour is recommended as its higher protein content will give you a chewier crust, but all-purpose flour will work perfectly well if that’s what you have on hand. The sugar, while not for sweetness in this context, helps to activate the baking powder and contributes to browning. Don’t skip this step; a good mix of dry ingredients is the foundation for success!
Incorporate Wet Ingredients:
Now, make a well in the center of your dry ingredients. Pour in the olive oil and the cold tap water. Start mixing everything together with a fork or a spatula until a shaggy dough begin extracts to form. Don’t overmix at this stage. The goal is just to bring everything together. If the dough seems a little too dry and crum extractbly, you can add a tiny splash more water, just a teaspoon at a time. Conversely, if it feels excessively sticky, a little more flour can be added. The cold water helps to keep the gluten development in check, resulting in a more tender crust.
Knead the Dough (Briefly!):
Turn the shaggy dough out onto a lightly floured surface. You’ll only need to knead this dough for about 1 to 2 minutes. The aim here is not to develop a lot of gluten like you would with yeast dough. Instead, we’re simply trying to create a smooth, cohesive ball. Press the dough down with the heels of your hands and fold it over itself a few times. You’ll notice the dough becoming smoother and less sticky. Over-kneading can make the crust tough, so be gentle and brief. The “extra flour for dusting” you measured out will be useful here to prevent sticking.
Shape Your Pizza Base:
Once your dough is smooth, it’s ready to be shaped. You can do this in a couple of ways. For a more rustic, hand-tossed look, you can gently press and stretch the dough from the center outwards, rotating it as you go. Alternatively, for a more uniform crust, you can use a rolling pin. Roll the dough out to your desired thickness and shape, typically a circle about 10-12 inches in diameter. Remember, this dough is quite forgiving. If it springs back a bit while you’re shaping, let it rest for a minute or two and then continue. You can either pre-bake this crust slightly or add your toppings directly to it. For a crispier base, I often pre-bake it for about 5-7 minutes before adding toppings. If you choose to pre-bake, prick the dough all over with a fork to prevent it from puffing up too much.
Bake Your Delicious Pizza:
Preheat your oven to a high temperature, ideally 450-475°F (230-245°C). A hot oven is key to a great pizza crust. Once your dough is shaped and you’ve added your favorite sauce, cheese, and toppings, transfer it to your hot baking surface. This could be a pizza stone, a baking sheet, or even an overturned baking tray. If you’re using the optional vegetable oil, lightly brush the edges of the crust before baking. This adds a lovely golden color and a subtle crispness. Bake for 10-15 minutes, or until the crust is golden brown and the cheese is bubbly and melted. The exact baking time will depend on your oven and the thickness of your crust. Keep an eye on it to prevent burning!
This no-yeast pizza dough is a game-changer for weeknight dinners or when unexpected pizza cravings strike. It’s simple enough for kids to help with, and the results are always satisfying. Enjoy your quick, easy, and absolutely delicious homemade pizza!

Conclusion:
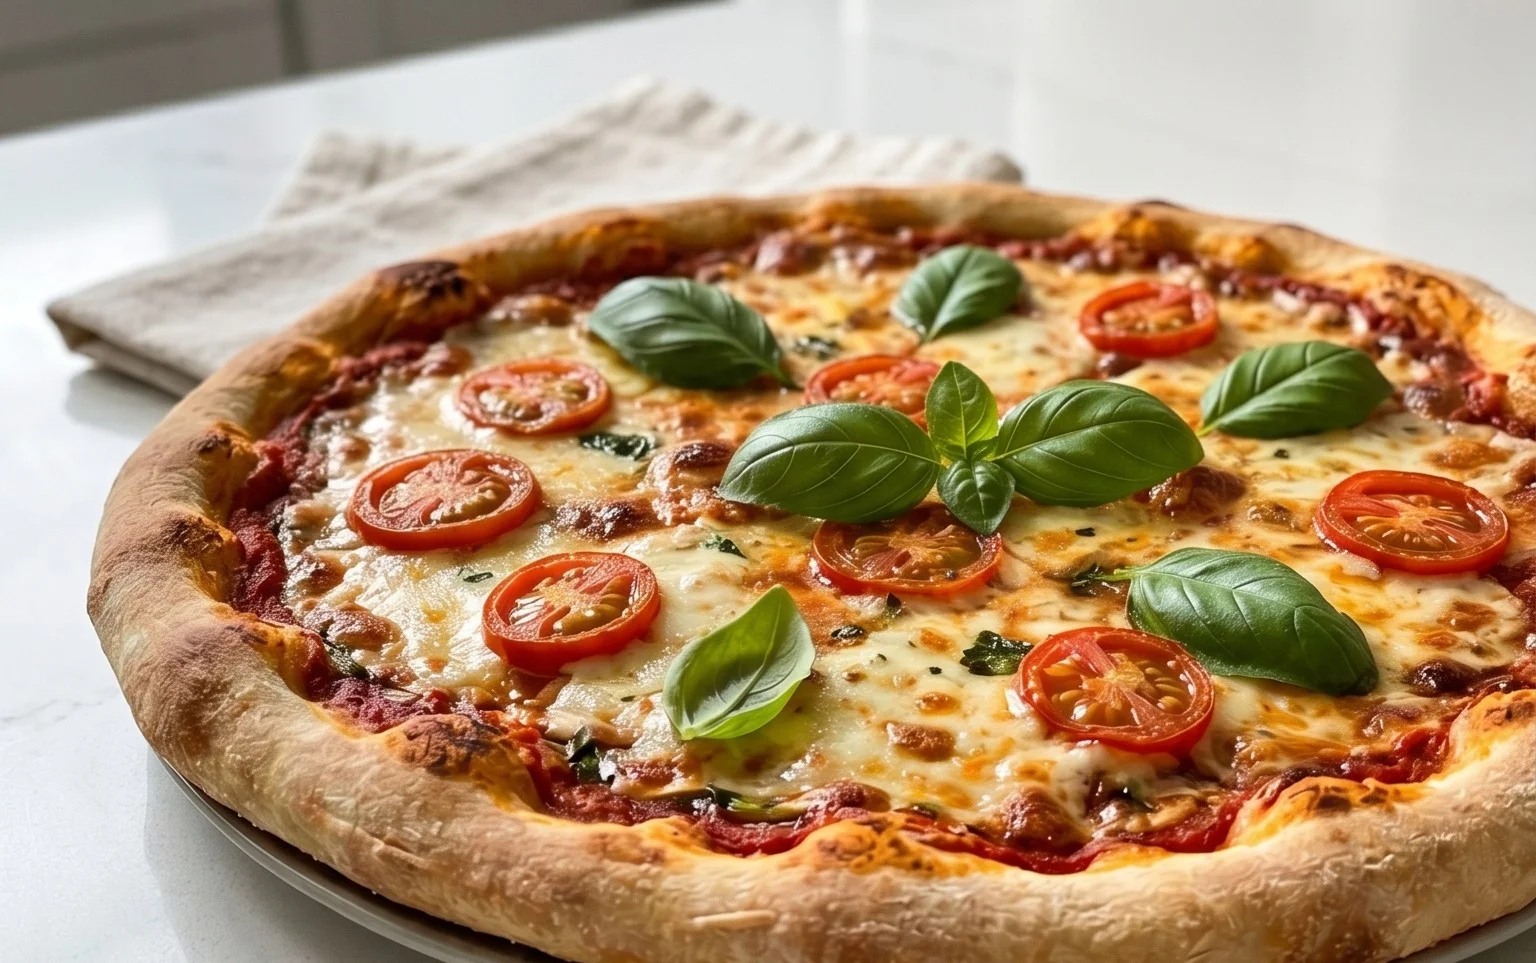
So there you have it – an absolutely fantastic no yeast pizza dough that’s going to revolutionize your weeknight dinners! This recipe truly is a game-changer because it delivers that satisfying, chewy crust without any of the waiting or fuss associated with traditional yeast doughs. In just under an hour, you can go from ingredients to a delicious, homemade pizza ready for your favorite toppings. It’s incredibly easy to mix, knead minimally, and shape, making it perfect for busy cooks and novice bakers alike. We’ve found it pairs wonderfully with classic Margherita toppings, piled high with roasted vegetables, or even loaded with spicy beef pepperoni and a drizzle of hot honey.
Don’t be afraid to experiment! Try adding herbs like oregano or basil directly into the dough, or a pinch of garlic powder for an extra layer of flavor. You could even swap out some of the all-purpose flour for whole wheat for a nuttier taste and added fiber. I genuinely encourage you to give this recipe a try. It’s so rewarding to pull a perfectly baked pizza from your own oven, knowing you made it from scratch so quickly and easily. Get ready to impress yourself and your loved ones!
Frequently Asked Questions:
Can I make this dough ahead of time?
Yes, you absolutely can! Once the dough is mixed and kneaded, you can wrap it tightly in plastic wrap and refrigerate it for up to 24 hours. Let it sit at room temperature for about 20-30 minutes before shaping to make it more pliable.
What’s the best way to get a crispy crust?
For a super crispy crust, preheat your oven to its highest setting, ideally 475-500°F (245-260°C), and use a pizza stone or a heavy baking sheet. Place the stone or sheet in the oven while it preheats. Carefully transfer your assembled pizza onto the hot surface for baking. Baking directly on a hot surface is key!
Can I freeze this no yeast pizza dough?
Definitely! After kneading, shape the dough into a ball, wrap it tightly in plastic wrap, and then place it in a freezer-safe bag or container. It can be stored in the freezer for up to 2-3 months. Thaw it overnight in the refrigerator, then let it come to room temperature for about 30 minutes before proceeding with the recipe.
An excellent No Yeast Pizza Dough – quick easy homemade pizza!
A quick and easy no-yeast pizza dough recipe that is perfect for homemade pizzas. Ready in under 30 minutes!
Ingredients
-
1 1/3 cups bread flour
-
2 tsp baking powder
-
3/4 tsp salt
-
3/4 tsp sugar
-
2 tsp olive oil
-
1/2 cup cold tap water
-
1 tbsp Extra Flour (for dusting)
-
2 tsp vegetable oil (optional, for brushing crust)
Instructions
-
Step 1
In a large bowl, whisk together the bread flour, baking powder, salt, and sugar. -
Step 2
Add the olive oil and cold water to the dry ingredients. -
Step 3
Mix with a spoon or spatula until a shaggy dough forms. Then, use your hands to bring it together into a ball. -
Step 4
Turn the dough out onto a lightly floured surface and knead for 2-3 minutes until smooth and elastic. Add a little extra flour if it’s too sticky. -
Step 5
Shape the dough into your desired pizza base. You can roll it out or stretch it by hand. -
Step 6
Transfer the dough to your pizza stone or baking sheet. Add your favorite toppings. Bake according to your pizza recipe’s instructions. -
Step 7
Optional: Brush the crust with vegetable oil before baking for extra crispiness.
Important Information
Nutrition Facts (Per Serving)
It is important to consider this information as approximate and not to use it as definitive health advice.
Allergy Information
Please check ingredients for potential allergens and consult a health professional if in doubt.