Gluten-Free Sweet Potato Tortillas Vegan Wraps
Sweet Potato Tortillas (Gluten-Free Vegan Wraps) are a game-changer for anyone seeking delicious and wholesome alternatives to traditional wraps. Imagin extracte a soft, pliable tortilla, bursting with a subtle, earthy sweetness and a vibrant hue that instantly brightens any meal. That’s exactly what these incredible sweet potato tortillas deliver! They’ve quickly become a favorite in my kitchen because they’re not only incredibly versatile but also free from gluten and animal products, making them a perfect choice for so many dietary needs. What truly sets these sweet potato tortillas apart is their naturally tender texture and the fact that they’re made with just a few simple, wholesome ingredients. Forget those dry, crum extractbly gluten-free options; these are the real deal, ready to embrace your favorite fillings and elevate your lunch or dinner experience to a whole new level. Get ready to fall in love with these amazing gluten-free vegan wraps!
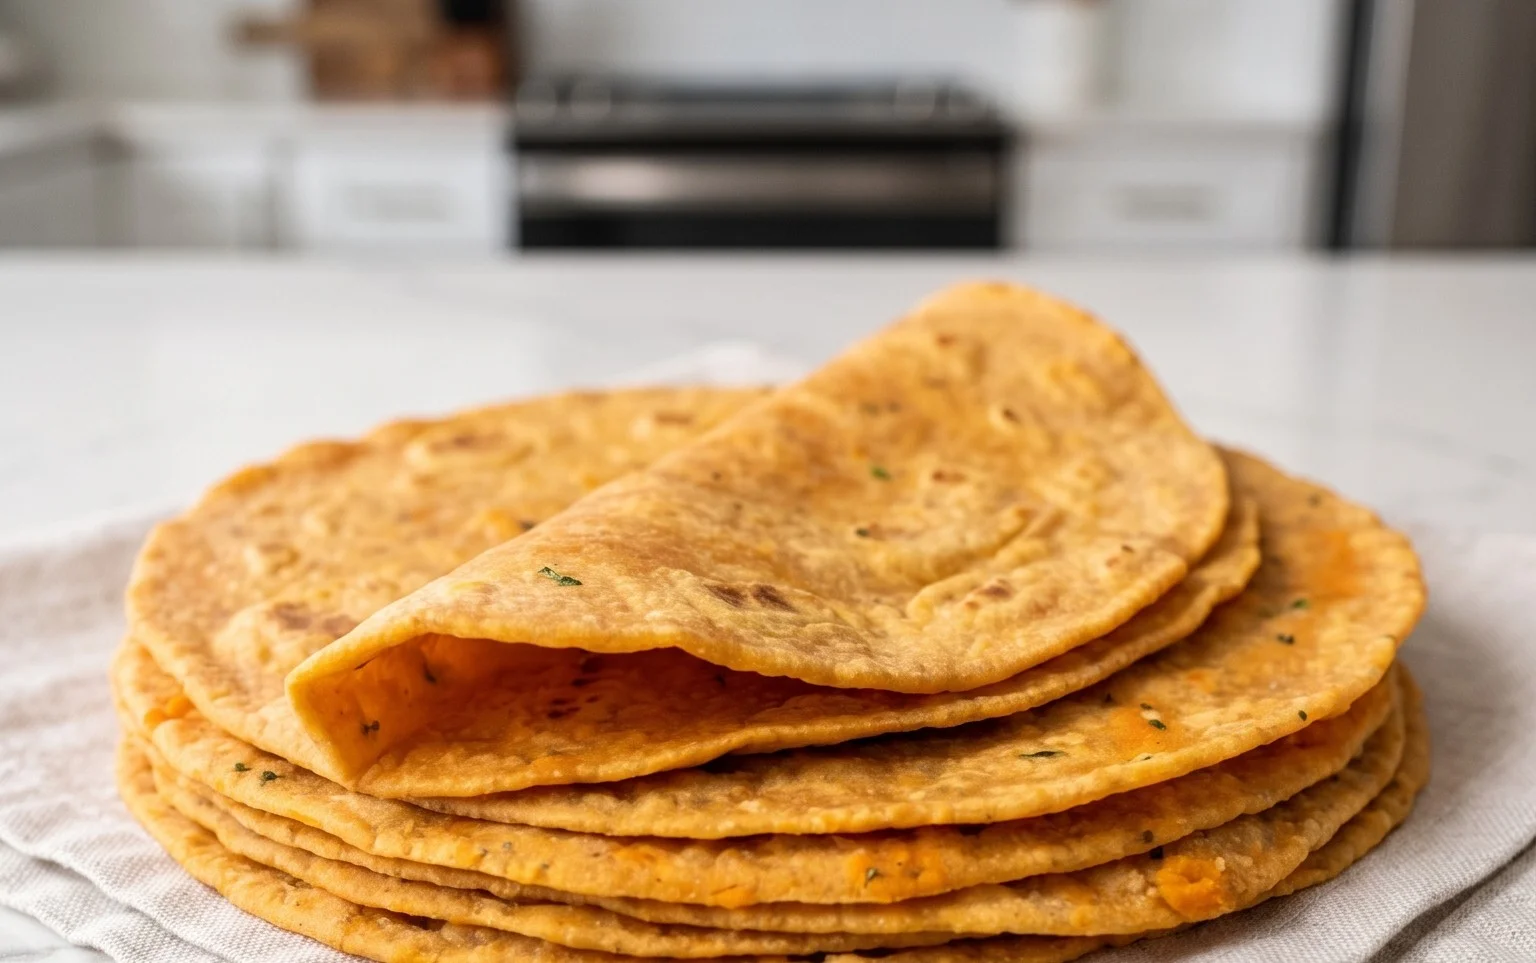
Sweet Potato Tortillas (Gluten-Free Vegan Wraps)
Welcome back to the kitchen! Today, we’re diving into something truly special: homemade sweet potato tortillas. If you’re on the hunt for gluten-free and vegan wraps that are also incredibly delicious and packed with wholesome goodness, you’ve come to the right place. These tortillas are naturally vibrant, subtly sweet from the sweet potato, and wonderfully pliable, making them perfect for your favorite fillings. Forget store-bought; the flavor and texture you’ll achieve from scratch are unparalleled. They’re surprisingly easy to make too, requiring just a handful of common ingredients and a little bit of love. Let’s get started on creating these beautiful, healthy wraps!
Ingredients:
Crafting Your Sweet Potato Tortillas
The process of making these tortillas is quite rewarding. We’ll start by preparing the sweet potato, then combine all our ingredients to form a dough, and finally, cook them to golden perfection.
Preparing the Sweet Potato Mash
First things first, let’s get our sweet potatoes ready. You’ll want to steam or boil them until they are very tender. The key here is to avoid adding any extra liquid while cooking. If boiling, make sure they’re submerged but not swimming. Once cooked, drain them thoroughly and mash them until you have a smooth, lump-free puree. You can use a fork, a potato masher, or even a food processor for this. Aim for about 1 cup of mashed sweet potato. The sweetness from the potato is crucial for the flavor profile of our tortillas, so don’t skimp on this step! Make sure there’s no residual water in the mash, as this can affect the dough’s consistency.
Mixing the Dough
In a large mixing bowl, combine your prepared sweet potato mash with the vegan butter. If you’re using oil instead of vegan butter, add it here. Gently mix until the butter is mostly melted and incorporated into the sweet potato. Next, add the hot water, one tablespoon at a time, stirring until you achieve a smooth, cohesive mixture. This step helps to create a softer dough and ensures the butter is well distributed. Now, let’s season! Add the sea salt, a dash of black pepper, onion powder, and garlic powder. Stir these in thoroughly.
The next crucial ingredient is your gluten-free sourdough starter. If you don’t have a gluten-free sourdough starter, don’t worry! You can easily make a starter using a gluten-free flour blend and water, allowing it to ferment for a few days, or you can omit it and slightly increase the hot water and add a touch more starchy flour to compensate for the liquid and leavening. Add the 3/4 cup of starter to the bowl.
Now, it’s time for the binders that will make our tortillas hold together beautifully. Sprinkle in the psyllium husk and the arrowroot flour. If you’re opting for a puffier tortilla, now’s the time to add the baking powder. Mix everything together. Initially, it might seem a bit sticky or wet, but as the psyllium husk absorbs moisture, it will begin extract to thicken and come together.
Knead the dough gently for a minute or two, just until it forms a soft, pliable ball. You might need to add another tablespoon of arrowroot flour if the dough is too sticky to handle. The dough should feel smooth and slightly tacky, but not so sticky that it clings excessively to your hands. If it feels too dry, add another teaspoon of hot water. The goal is a dough that’s easy to roll out.
Shaping and Cooking Your Tortillas
Once your dough is ready, it’s time to divide it. Lightly dust your work surface with a bit of arrowroot flour. Divide the dough into 6-8 equal portions, depending on how large you want your tortillas to be. Roll each portion into a ball.
Now, let’s shape them. Take one ball of dough and flatten it slightly with your palm. Using a rolling pin, roll out each ball into a thin circle, about 6-8 inches in diameter. Aim for an even thickness to ensure they cook uniformly. If the dough sticks, dust your rolling pin and the surface with a little more arrowroot flour. You can also use a tortilla press if you have one, which makes this step even easier and ensures perfectly round tortillas.
Heat a dry skillet or griddle over medium heat. You don’t need to add any oil to the pan, as the dough has enough fat in it. Carefully place one rolled-out tortilla onto the hot skillet. Cook for about 1-2 minutes per side, or until you see small bubbles forming on the surface and the edges start to firm up. You’re looking for a light golden-brown color. Don’t overcrowd the pan; cook them one or two at a time.
As each tortilla is cooked, transfer it to a plate and cover it with a clean kitchen towel. This helps to keep them warm and pliable. Repeat this process with the remaining dough balls. The steam trapped by the towel will prevent them from drying out and becoming brittle. The aroma that fills your kitchen as these cook is just incredible!
These sweet potato tortillas are incredibly versatile. Enjoy them as a base for your favorite tacos, enchiladas, or quesadillas. They also make a fantastic wrap for sandwiches or can be served alongside stews and chilis. They’re best enjoyed fresh, but leftovers can be stored in an airtight container in the refrigerator for a few days. Reheat them gently in a skillet or microwave to revive their soft texture. Happy cooking!
Conclusion:
And there you have it! These Sweet Potato Tortillas are truly a revelation for anyone looking for delicious, gluten-free, and vegan wraps. The natural sweetness of the sweet potato provides a wonderful flavor base that’s both comforting and versatile, and the tender texture is just perfect for all your favorite fillings. I’ve found they hold up beautifully, making them ideal for everything from breakfast burritos to hearty lunch wraps.
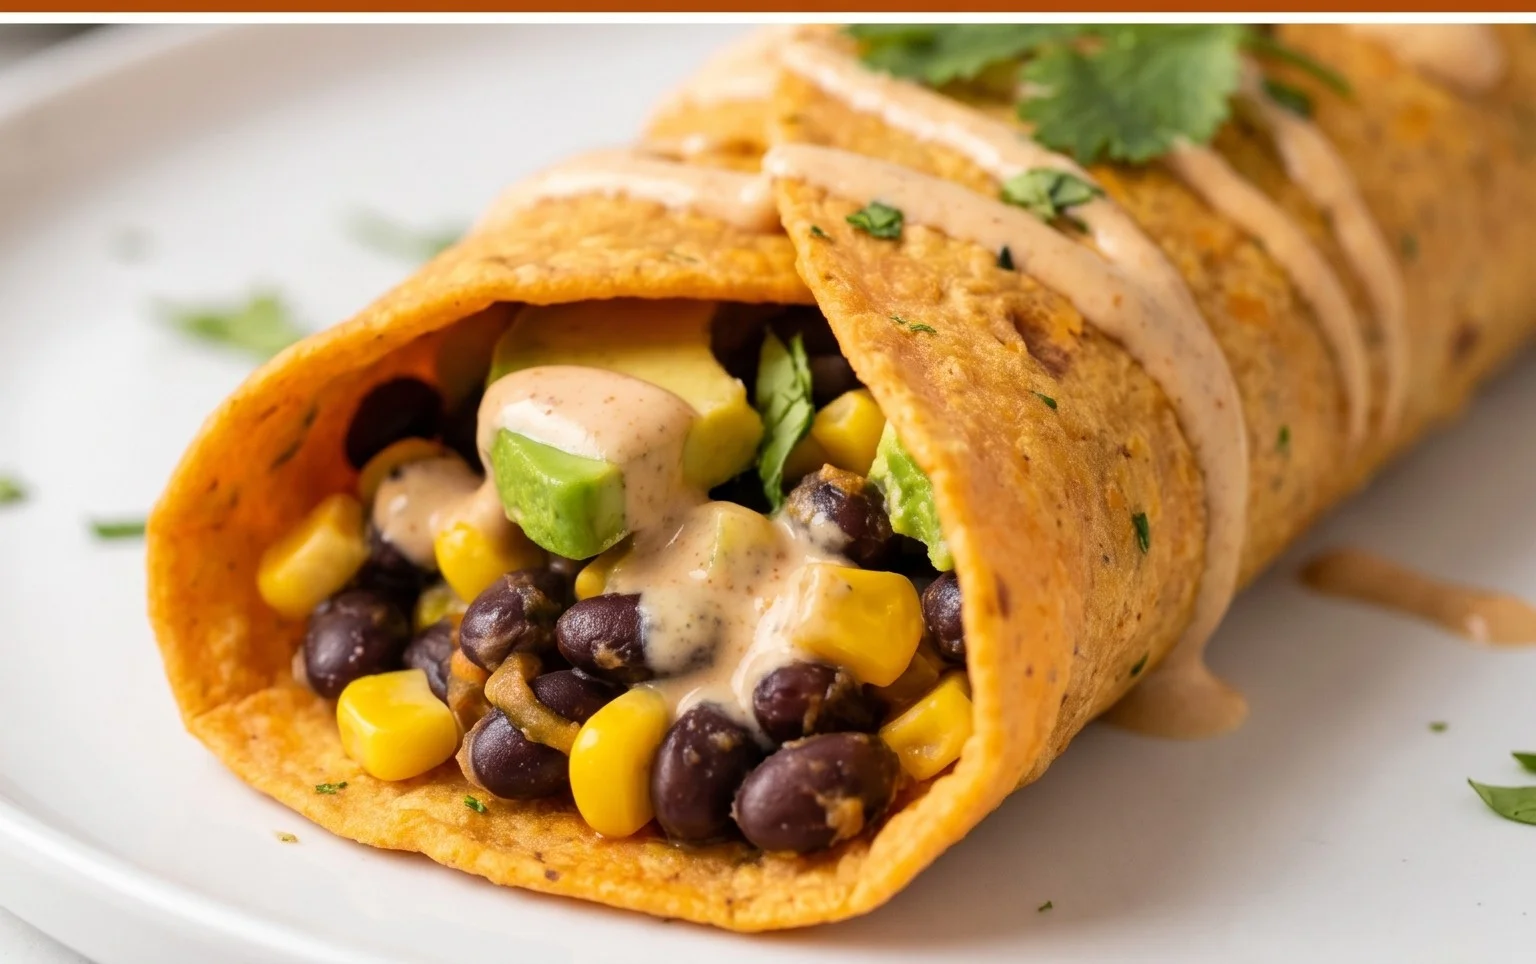
Get creative with your serving suggestions! Imagin extracte them filled with seasoned black beans, avocado, and a drizzle of cashew crema, or perhaps loaded with sautéed mushrooms, spinach, and vegan cheese. They also make a fantastic base for mini pizzas or quesadillas. Don’t be afraid to experiment with variations too – a pinch of cumin or smoked paprika in the dough can add a whole new dimension of flavor. I highly encourage you to give these Sweet Potato Tortillas a try. They’re surprisingly easy to make and offer a healthy, satisfying alternative to traditional wraps. Let me know how yours turn out!
Frequently Asked Questions:
Can I make these tortillas ahead of time?
Yes, absolutely! Once cooled, you can store these sweet potato tortillas in an airtight container at room temperature for up to 2 days, or in the refrigerator for up to 5 days. For longer storage, wrap them well and freeze them for up to 2 months. Thaw overnight in the refrigerator or gently reheat on a skillet.
What kind of sweet potato should I use?
Any common variety of sweet potato will work well, such as Jewel, Garnet, or Beauregard. The key is to ensure the sweet potato is cooked until very tender, which will make it easier to mash smoothly and incorporate into the dough.
Can I substitute the flour?
While the gluten-free flour blend is specifically chosen for texture, you can experiment with other gluten-free flours like brown rice flour or sorghum flour, though the texture may vary slightly. You might need to adjust the liquid slightly depending on the absorbency of your chosen flour.
Sweet Potato Tortillas (Gluten-Free Vegan Wraps)
Delicious and healthy gluten-free vegan wraps made with sweet potato. Perfect for a versatile and satisfying meal.
Ingredients
-
2 small sweet potatoes – steamed or boiled (no liquid / mashed)
-
2 tbsp vegan butter – I used Miyoko’s (or use oil)
-
1-2 tbsp hot water
-
3/4 tsp sea salt + dash black pepper
-
1/2 tsp onion powder
-
1/2 tsp garlic powder
-
3/4 cup gluten free sourdough starter
-
2 tsp psyllium husk
-
2-3 tbsp arrowroot flour (or other starchy flour)
-
1/2 tsp baking powder
Instructions
-
Step 1
Mash the steamed or boiled sweet potatoes until very smooth. Ensure no liquid is present. -
Step 2
In a bowl, combine the mashed sweet potato, vegan butter, hot water, sea salt, black pepper, onion powder, and garlic powder. Mix until well combined. -
Step 3
Add the gluten-free sourdough starter, psyllium husk, and arrowroot flour to the wet ingredients. Mix until a dough forms. If the dough is too dry, add a tiny bit more hot water; if too wet, add a bit more arrowroot flour. -
Step 4
If using, stir in the baking powder for puffier tortillas. -
Step 5
Divide the dough into 4-6 equal portions and roll each into a ball. -
Step 6
On a lightly floured surface (using arrowroot flour), roll out each dough ball very thinly into tortilla shapes. -
Step 7
Heat a lightly oiled griddle or frying pan over medium heat. Cook each tortilla for 2-3 minutes per side, or until lightly golden and cooked through.
Important Information
Nutrition Facts (Per Serving)
It is important to consider this information as approximate and not to use it as definitive health advice.
Allergy Information
Please check ingredients for potential allergens and consult a health professional if in doubt.