Easy Japanese Tuna Onigiri Quick Recipe
15-min. Easy Japanese Tuna Onigiri are your new best friend when hunger strikes and time is tight! We all love a quick and satisfying meal, and this Japanese rice ball is an absolute cbeef hampion. Its beauty lies in its simplicity and incredible versatility. Imagin extracte perfectly seasoned rice, embracing a flavorful, savory tuna filling, all shaped into a convenient, portable package. No complicated techniques, no obscure ingredients – just pure, unadulterated deliciousness that’s ready in a flash.
Why You’ll Love These Tuna Onigiri:
Effortless Perfection:
The magic of 15-min. Easy Japanese Tuna Onigiri is how incredibly easy they are to make, even if you’ve never rolled rice before. The result is a delightful balance of textures and tastes – fluffy rice contrasting with the rich, umami-packed tuna filling.
A Snack or Meal Anytime:
Perfect for a quick lunch, a power-packed snack, or even a light dinner, these tuna onigiri are incredibly satisfying. They’re the ultimate grab-and-go food that feels both wholesome and indulgent. Let’s get started and whip up some of these amazing 15-min. Easy Japanese Tuna Onigiri together!
15-Min. Easy Japanese Tuna Onigiri
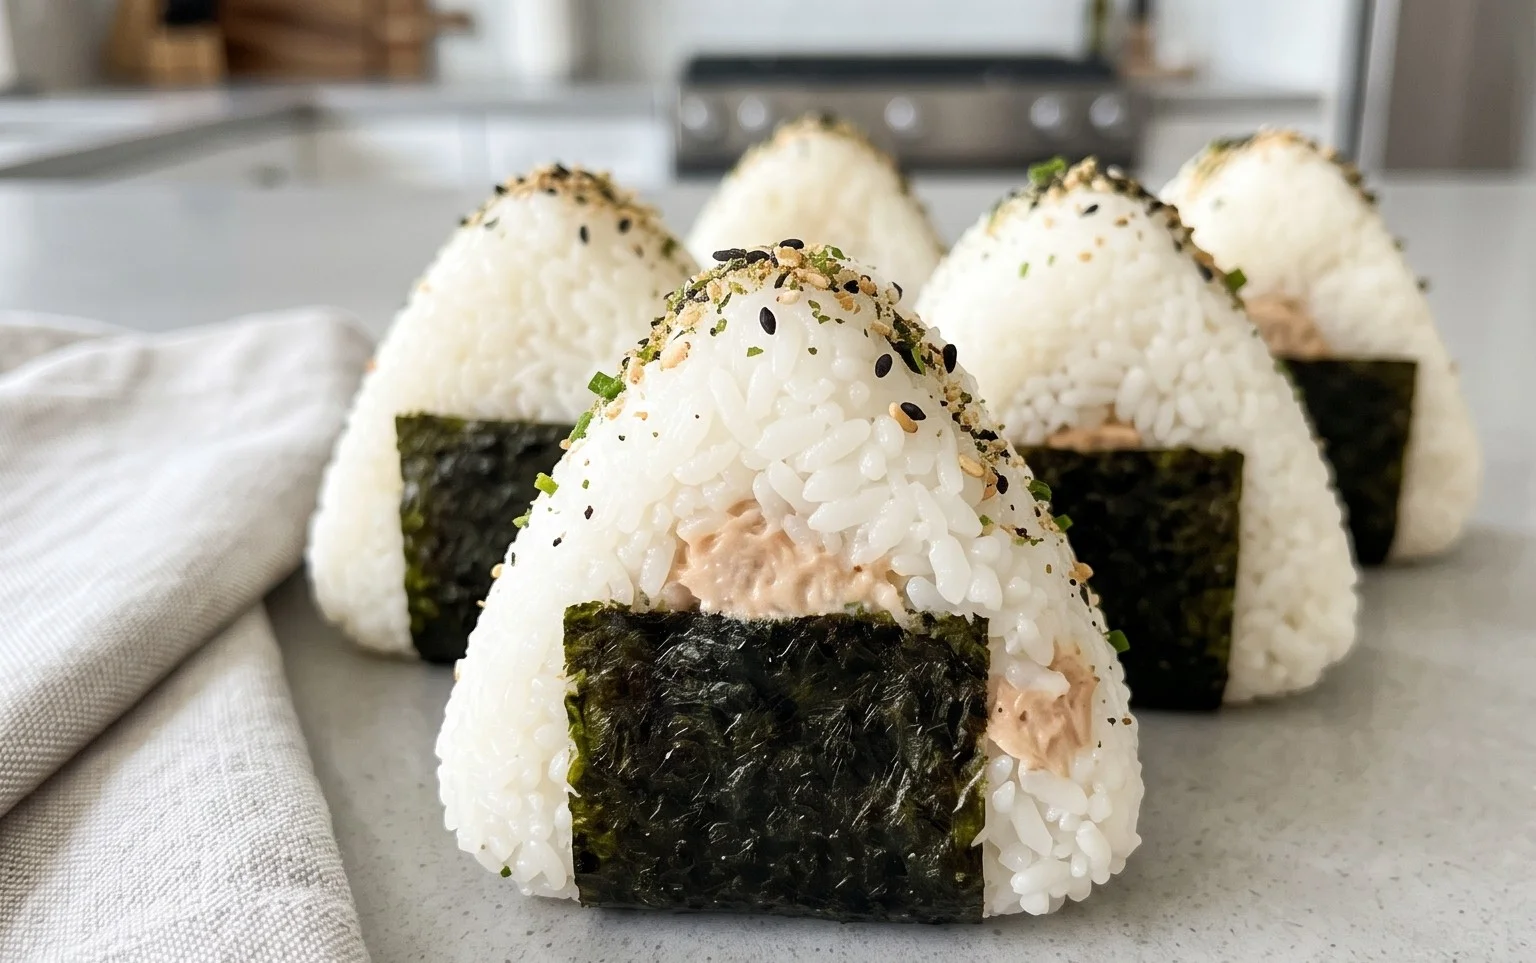
When hunger strikes and time is short, there’s nothing quite like the satisfying simplicity of Japanese Tuna Onigiri. These delightful rice balls are a perfect blend of convenience, flavor, and tradition, making them an ideal snack or light meal. Whether you’re a seasoned cook or a begin extractner in the kitchen, this recipe is designed to be incredibly easy and remarkably quick. In just about 15 minutes, you can transform a few pantry staples into a delicious and portable treat. The combination of fluffy rice, savory tuna, creamy mayonnaise, and the subtle crunch of nori is truly irresistible. Plus, they’re customizable, allowing you to adjust the flavors to your personal preference. Let’s get started on creating these little flavor bombs!
Ingredients:
Preparing the Tuna Filling
The heart of our onigiri is the savory tuna filling. This step is super quick and easy.
1. First, grab your can of tuna. If you’re using tuna packed in oil, drain off most of the oil, leaving just a little bit behind for moisture and flavor. If you’re using tuna packed in water, drain it thoroughly.
2. Transfer the drained tuna to a small bowl. Add the 2 tablespoons of Japanese mayonnaise. Japanese mayonnaise is slightly tangier and richer than Western mayonnaise, which adds a wonderful depth of flavor. However, if you don’t have it, regular mayonnaise will work perfectly fine.
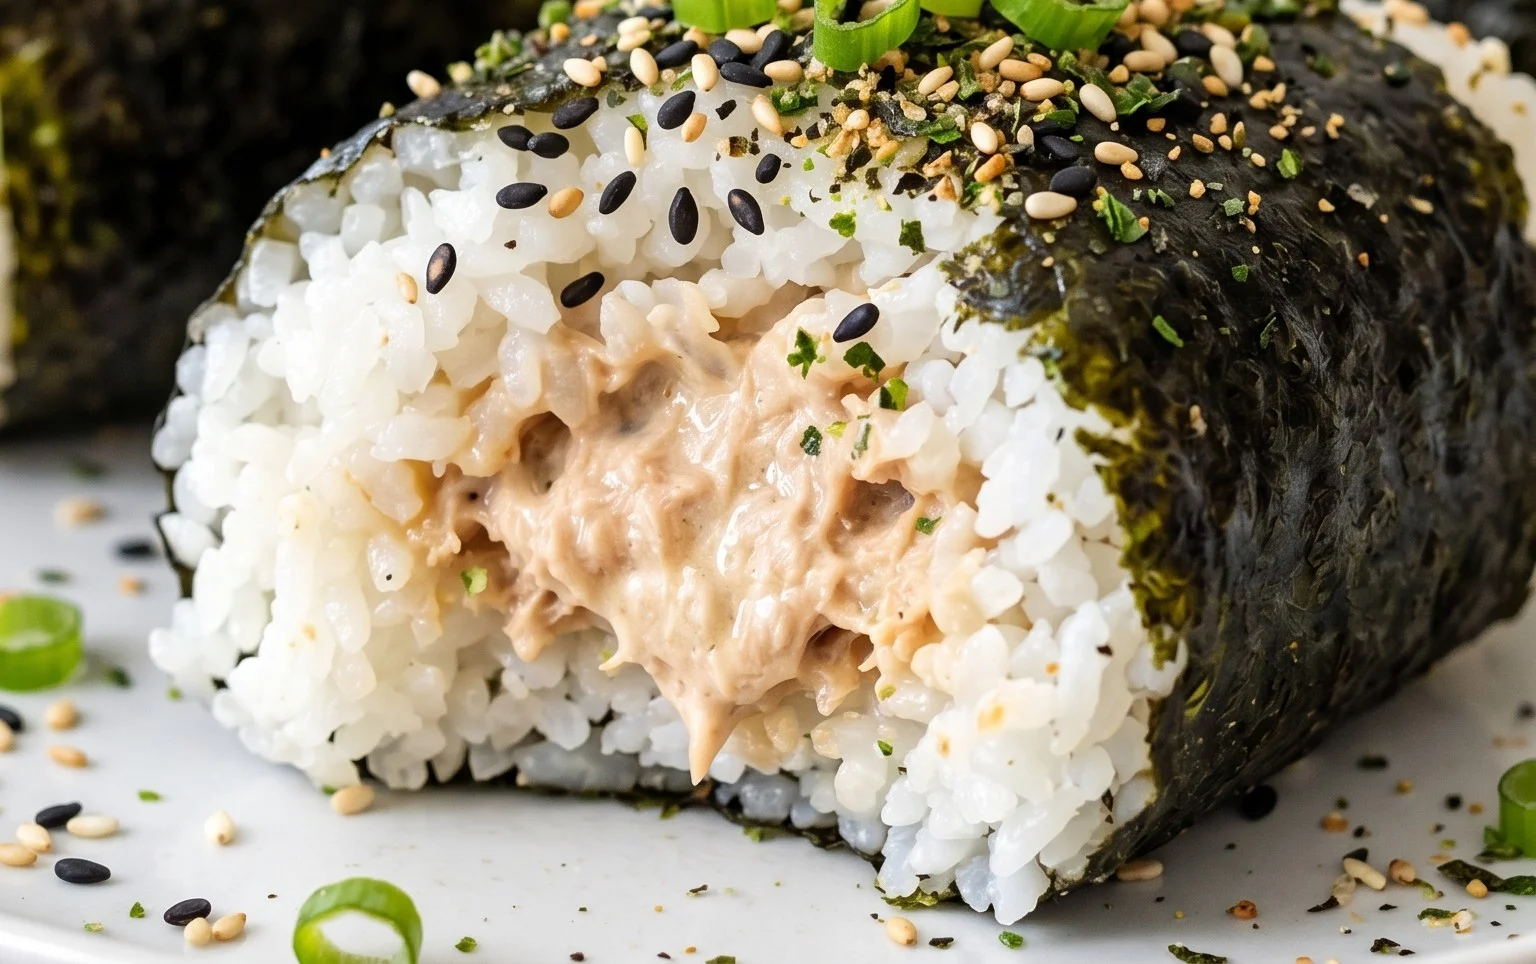
3. Now, it’s time to mix. Use a fork to gently flake the tuna and combine it with the mayonnaise. You want to achieve a creamy, well-mixed consistency. Don’t overmix it to the point of mush; a little texture from the tuna is nice. Taste it and add a tiny pinch of salt if you think it needs it, though the tuna and mayonnaise usually provide enough.
Forming the Rice Balls
This is where the magic happens – transforming the rice into beautiful onigiri shapes. It’s important to work with warm rice for the best results; it’s easier to shape and holds together better.
1. Make sure your cooked short-grain rice is still warm. Short-grain rice is ideal for onigiri because its starch content helps it stick together nicely. If you’re using freshly cooked rice, let it cool for just a few minutes until it’s warm enough to handle but not so hot that you burn yourself. If you’re using leftover rice, gently reheat it until it’s warm.
2. Sprinkle the 1/2 teaspoon of salt over the warm rice and gently mix it in. This seasons the rice evenly.
3. Now, it’s time to shape. Moisten your hands with water. This is a crucial step to prevent the rice from sticking to your hands. You can do this by running your hands under a tap or keeping a small bowl of water nearby to dip your fingers into as needed.
4. Take about 1/2 cup of the seasoned rice into your palm. Gently press it into a flat disc. Then, spoon about 1 to 2 teaspoons of the prepared tuna filling into the center of the rice disc.
5. Carefully bring the edges of the rice up and around the filling, enclosing it completely. Then, gently cup your hands and begin extract to shape the rice ball. You can make them triangular, round, or any shape you prefer. The key is to press gently but firmly to compact the rice so it holds its shape. Imagin extracte you’re gently squeezing a stress ball. Avoid pressing too hard, which can make the onigiri dense and unappetizing. Rotate the rice ball as you shape it to ensure an even form.
Finishing Touches and Assembly
The final steps are about adding that classic onigiri look and extra flavor.
1. If you’re using whole sheets of nori, you can cut them into strips. A strip about 1 inch wide and 3-4 inches long is usually perfect for wrapping around the base of your onigiri. If you prefer less nori, you can cut the sheets into smaller pieces or even just use a small corner to adhere to the rice.
2. Take your shaped rice ball and gently press a piece of nori onto one side. The moisture from the rice will help the nori stick.
3. For an extra touch of flavor and visual appeal, sprinkle the optional 1 teaspoon of sesame seeds over the onigiri. This is a simple step that really elevates the presentation.
4. Repeat the shaping process for the remaining rice and filling until you’ve used up your ingredients. You should be able to make 2-4 onigiri depending on the size you make them.
Notes:
Enjoy your quick and delicious homemade Japanese Tuna Onigiri! They are perfect for on-the-go lunches, snacks, or even a light dinner.
Conclusion:
There you have it – delicious and incredibly simple Japanese Tuna Onigiri ready in just 15 minutes! This recipe is a true lifesaver for busy weeknights, quick lunches, or even a satisfying snack. The combination of fluffy rice, savory tuna filling, and the delightful umami of nori is simply irresistible. It’s a fantastic way to enjoy a taste of Japan without spending hours in the kitchen.
These versatile rice balls are perfect on their own, but they also pair wonderfully with a side of miso soup, a fresh green salad, or some pickled gin extractger for an authentic Japanese meal experience. Feel free to get creative with your fillings! You could try adding a drizzle of sriracha mayo for a spicy kick, some chopped scallions for extra freshness, or even a sprinkle of furikake seasoning for added flavor and texture.
I truly encourage you to give this easy Japanese Tuna Onigiri recipe a try. It’s so rewarding to make something so tasty from scratch so quickly. Let me know how yours turn out!
Frequently Asked Questions:
Can I make the rice ahead of time?
Absolutely! You can cook your sushi rice in advance and let it cool completely. When you’re ready to make your onigiri, gently reheat the rice slightly until it’s warm but not hot, making it easier to shape.
What kind of tuna is best for onigiri?
Canned tuna packed in oil or water works wonderfully. Drain it thoroughly before mixing it with your desired seasonings like mayonnaise, soy sauce, or a touch of sriracha for a little heat.
How should I store leftover onigiri?
For the best flavor and texture, onigiri are best enjoyed fresh. If you have leftovers, store them in an airtight container in the refrigerator for up to 1-2 days. Reheat them gently in a microwave or a lightly oiled pan for a few seconds before serving.
15-min. Easy Japanese Tuna Onigiri
Quick and simple Japanese rice balls filled with seasoned tuna and mayo, perfect for a light meal or snack.
Ingredients
-
2 cups cooked short grain rice
-
1/2 tsp salt
-
5.29 oz canned tuna (in oil recommended, or canned tuna in water)
-
2 tbsp Japanese mayo (or regular mayonnaise)
-
2 sheets nori (or use 1/2 sheet if you prefer less)
-
1 tsp sesame seeds (for garnishing, optional)
Instructions
-
Step 1
In a bowl, gently mix the cooked short grain rice with 1/2 tsp salt. Allow to cool slightly until it’s comfortable to handle. -
Step 2
Drain the canned tuna and place it in a separate bowl. Mix the tuna with 2 tbsp Japanese mayo. If desired, you can add a pinch more salt to the tuna mixture. -
Step 3
Wet your hands with water and sprinkle a little salt on your palms to prevent rice from sticking. -
Step 4
Take a portion of the seasoned rice (about 1/2 cup) and flatten it slightly in your palm. Place about 1-2 tablespoons of the tuna mixture in the center. -
Step 5
Gently shape the rice around the filling, forming a compact triangle or ball shape. Repeat with the remaining rice and tuna mixture. -
Step 6
Cut the nori sheets into strips. Wrap a strip of nori around the base of each onigiri. If using sesame seeds, sprinkle them over the onigiri or incorporate them into the rice.
Important Information
Nutrition Facts (Per Serving)
It is important to consider this information as approximate and not to use it as definitive health advice.
Allergy Information
Please check ingredients for potential allergens and consult a health professional if in doubt.