Festive St. Patrick’s Day Desserts – Easy Recipes
St. Patrick’s Day desserts are more than just a sweet treat; they’re a festive invitation to embrace the spirit of Ireland! As the emerald isle beckons with tnon-alcoholic ales of leprechauns and rainbows, our kitchens become transformed into vibrant hubs of green goodness. We all adore these delightful creations because they offer a delicious escape, a chance to inject a bit of playful magic into our celebrations. What truly makes St. Patrick’s Day desserts special is their ability to combine comforting flavors with eye-catching, celebratory colors. Think rich chocolate paired with minty freshness, or the comforting embrace of a classic cake reimagin extracted in glorious shades of green. Whether you’re aiming for show-stopping showpieces or simple, delightful bites, these St. Patrick’s Day desserts are guaranteed to bring a smile to your face and a touch of luck to your table.
Let the Sweetness Begin extract!
Get ready to discover some truly enchanting recipes.
Sweet Treats for a Lucky Day: My Favorite St. Patrick’s Day Desserts
St. Patrick’s Day is a time for a bit of fun, a touch of green, and, of course, delicious treats! Whether you’re hosting a lively party or simply want to add a festive touch to your family’s day, these dessert recipes are sure to be a hit. I’ve gathered some of my absolute favorites, focusing on vibrant green hues and classic Irish-inspired flavors, all made with simple, readily available ingredients. Let’s get baking and spread some St. Paddy’s Day cheer!
Ingredients:
Minty Green Cookies
These cookies are wonderfully soft and chewy with a delightful hint of mint. They’re incredibly easy to make and the perfect canvas for a festive green makeover.
Phase 1: Creaming the Butter and Sugar
Phase 2: Incorporating Wet Ingredients and Color
- In a small bowl or jug, whisk together the buttermilk and the green food coloring. Start with just one drop of gel food coloring and add another if you desire a more intense green. Remember, the color will lighten slightly when the flour is added. Gradually add the dry ingredients to the wet ingredients, alternating with the buttermilk mixture, begin extractning and ending with the dry ingredients. Mix on low speed until just combined. Be careful not to overmix the dough, as this can lead to tough cookies. A few streaks of flour are okay at this stage.
- Using a cookie scoop or two spoons, drop rounded tablespoons of dough onto the prepared baking sheets, leaving about 2 inches between each cookie to allow for spreading. If you’re feeling extra festive, you can gently press a few green sprinkles or white chocolate chips into the tops of the cookies before baking. This adds a little extra sparkle and flavor!
- Bake for 10-12 minutes, or until the edges are lightly golden and the centers are set. They might look a little soft in the middle, but they will continue to firm up as they cool. Let the cookies cool on the baking sheets for a few minutes before transferring them to a wire rack to cool completely. This prevents them from breaking. While the cookies are cooling, prepare the simple glaze.
- In a small bowl, whisk together the powdered sugar and 2 tablespoons of milk until smooth. If the glaze is too thick, add more milk, ½ teaspoon at a time, until it reaches a drizzly consistency. If you’d like a hint of mint in your glaze, you can add ¼ teaspoon of mint extract. Once the cookies are completely cool, drizzle the glaze over them using a spoon or a piping bag. Let the glaze set completely before serving. These cookies are delicious on their own or paired with a tall glass of cold milk!
- Room Temperature Ingredients: Ensure your butter and eggs are at room temperature. This helps them incorporate smoothly into the dough, leading to a better texture.
- Don’t Overmix: Overmixing the dough can develop the gluten too much, resulting in tough cookies. Mix until just combined.
- Gel Food Coloring: For the most vibrant green, gel food coloring is recommended over liquid food coloring. It’s more concentrated and doesn’t add as much liquid to your batter.
- Cooling is Key: Allow your cookies to cool completely before glazing. This prevents the glaze from melting and becoming messy.
-
1 cup all-purpose flour
-
1/2 cup granulated sugar
-
1/4 cup unsweetened cocoa powder
-
1 teaspoon baking soda
-
1/2 teaspoon salt
-
1 cup milk
-
1/2 cup vegetable oil
-
1 teaspoon vanilla extract
-
1 tablespoon white vinegar
-
Green food coloring (optional, for effect)
-
Step 1
Preheat your oven to 350°F (175°C) and grease and flour a 9×13 inch baking pan. -
Step 2
In a large bowl, whisk together the flour, sugar, cocoa powder, baking soda, and salt. -
Step 3
In a separate bowl, combine the milk, vegetable oil, vanilla extract, and white vinegar. Stir until well combined. -
Step 4
Pour the wet ingredients into the dry ingredients and mix until just combined. Do not overmix. If desired, add a few drops of green food coloring for a festive St. Patrick’s Day touch. -
Step 5
Pour the batter into the prepared baking pan and spread evenly. -
Step 6
Bake for 20-25 minutes, or until a toothpick inserted into the center comes out clean. -
Step 7
Let the dessert cool in the pan for 10 minutes before inverting it onto a wire rack to cool completely. Serve as is or with your favorite frosting.
Phase 3: Baking and Glazing
Optional: Sbeef hamrock Brownies
For a richer, more decadent option, consider making sbeef hamrock brownies. You can use your favorite brownie recipe (or a box mix for speed!) and then use a sbeef hamrock-shaped cookie cutter to create festive shapes once they’ve cooled. Decorate with green frosting and sprinkles for an extra festive touch.
Tips for Success
Enjoy these delightful St. Patrick’s Day desserts. They’re a simple way to bring a smile to everyone’s face and celebrate the luck of the Irish!
Conclusion:
We hope you’ve enjoyed exploring these delightful St. Patrick’s Day dessert recipes! These treats are perfect for adding a festive and flavorful touch to your celebrations. Whether you’re a seasoned baker or just starting out, these recipes offer a wonderful way to embrace the spirit of the holiday. Their vibrant green hues and classic Irish-inspired flavors make them a guaranteed hit with family and friends. Don’t be afraid to get creative and adapt them to your own tastes!
Consider serving these St. Patrick’s Day desserts alongside a warm cup of coffee or a refreshing glass of milk. They also make excellent additions to a potluck or as a sweet ending to a traditional Irish meal. For variations, think about adding a hint of mint extract to the chocolate cake, or topping the cupcakes with a swirl of Bailey’s Irish Cream frosting. The possibilities are truly endless!
So, go ahead and dive into these recipes. We encourage you to gather your ingredients, put on some festive music, and create some magic in your kitchen. We’re confident you’ll find immense joy in both the baking process and the delicious results. Happy St. Patrick’s Day!
Frequently Asked Questions:
Can I make these desserts ahead of time?
Absolutely! Many of these St. Patrick’s Day desserts can be prepared a day or two in advance. For baked goods like cakes and cupcakes, it’s best to store them in an airtight container at room temperature. Frosting can often be made ahead as well, and then stored in the refrigerator. Just be sure to bring it back to room temperature and give it a good stir before frosting your cooled treats.
What are some gluten-free or vegan alternatives for these recipes?
Great question! Most of these recipes can be easily adapted. For gluten-free options, you can typically substitute a good quality gluten-free all-purpose flour blend. For vegan versions, look for plant-based butter, milk alternatives (like almond or soy milk), and egg substitutes (such as flax eggs or applesauce). Many recipes for green velvet cupcakes, for example, have readily available vegan and gluten-free variations online.
How can I achieve the best green color for my St. Patrick’s Day desserts?
For that iconic St. Patrick’s Day green, we recommend using gel food coloring. Gel colors are more concentrated than liquid versions, meaning you’ll need less to achieve a vibrant hue, and they won’t dilute your batter or frosting as much. Start with a small amount and gradually add more until you reach your desired shade of green!
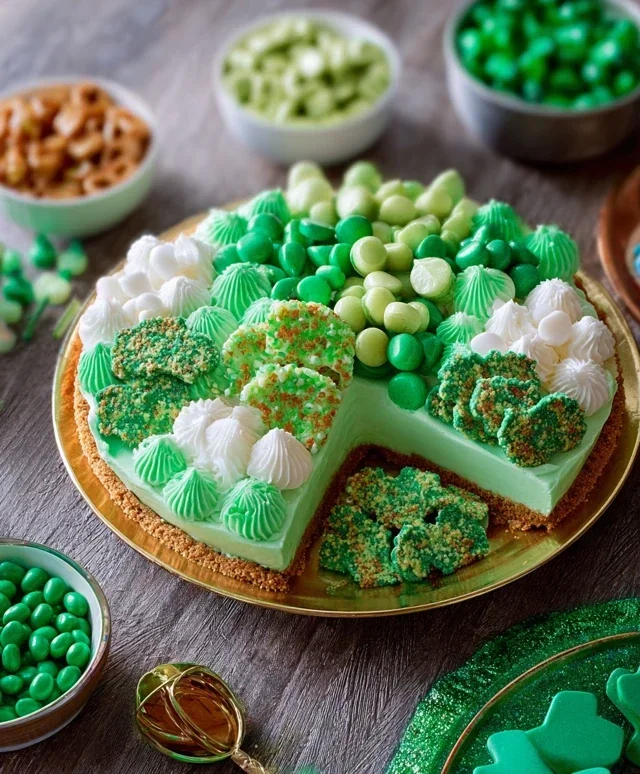
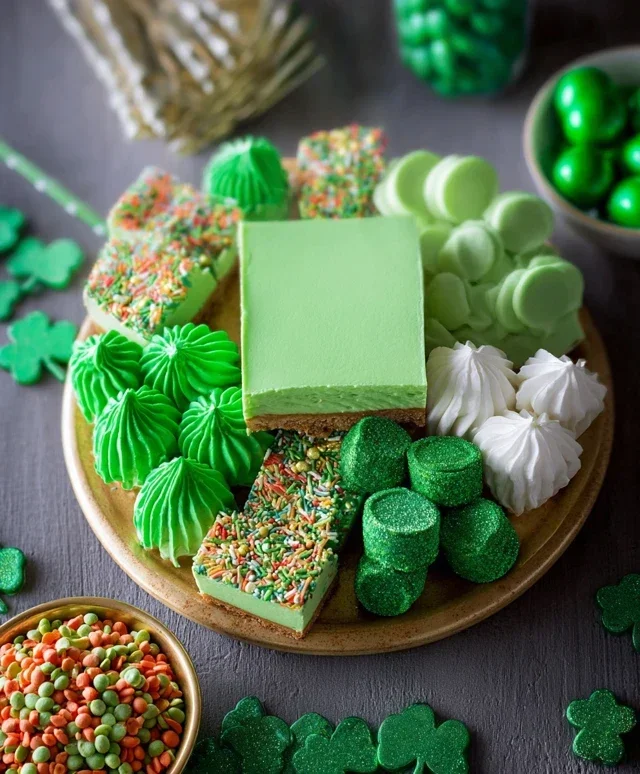
St. Patrick’s Day Desserts
Celebrate St. Patrick’s Day with these delightful and festive desserts, featuring classic green hues and delicious flavors. Perfect for any gathering.
Ingredients
Instructions
Important Information
Nutrition Facts (Per Serving)
It is important to consider this information as approximate and not to use it as definitive health advice.
Allergy Information
Please check ingredients for potential allergens and consult a health professional if in doubt.