Dairy-Free Pesto Recipe – Easy & Delicious
Dairy Free Pesto is about to become your new best friend in the kitchen. For years, I’ve been searching for that perfect, vibrant green sauce that captures the essence of fresh basil and toasted pine nuts, without the dairy. And let me tell you, I’ve found it! This incredible dairy free pesto recipe delivers all the bold, herbaceous flavor you crave, proving that you absolutely don’t need cheese to achieve pesto perfection. It’s wonderfully versatile, transforming simple pasta dishes into something spectacular, brightening up roasted vegetables, or even adding a zing to sandwiches and dips. What makes this version truly special is its accessibility; it’s a flavor explosion that everyone can enjoy, regardless of dietary needs. Prepare to fall in love with this easy, delicious, and intensely satisfying dairy free pesto. Your taste buds will thank you!
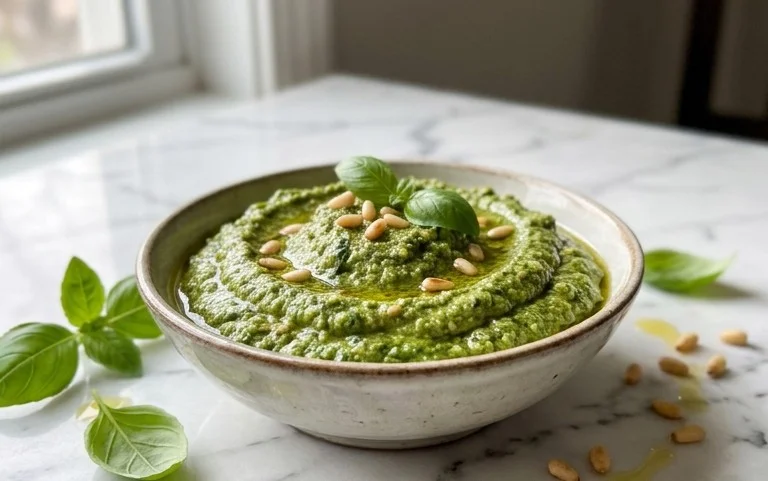
Dairy Free Pesto
Pesto is one of those magical sauces that can transform a simple meal into something truly special. Traditionally made with Parmesan cheese, it’s not always accessible for those following a dairy-free lifestyle. But fear not! Crafting a vibrant, flavorful dairy-free pesto is surprisingly simple and incredibly rewarding. This recipe uses nutritional yeast to impart a wonderfully cheesy, umami depth that perfectly complements the fresh basil and bright lemon. It’s incredibly versatile, perfect for pasta, spreading on sandwiches, dolloping onto grilled vegetables, or even mixing into dips. Get ready to elevate your cooking with this easy, delicious, and dairy-free staple.
Ingredients:
Instructions:
Prepare Your Basil:
The first step to an amazing pesto is to start with beautiful, fresh basil. You’ll want about 3 cups of basil leaves, and this means just the leaves themselves, not the stems. Stems can add a bitter or fibrous texture to your pesto, so take a moment to gently strip the leaves from the thicker stems. It’s helpful to wash your basil gently and then dry it thoroughly. A salad spinner is excellent for this, or you can lay the leaves on a clean kitchen towel and pat them dry. Excess water can dilute the flavor and affect the texture of your pesto, so getting it as dry as possible is key. Don’t be shy about packing those leaves into your measuring cup to ensure you have enough vibrant green goodness.
Toast Your Nuts (Optional but Recommended):
While not strictly required, toasting your pine nuts (or other nuts/seeds you’re using) adds a fantastic depth of flavor and a lovely crunch. You can do this in a dry skillet over medium-low heat for 3-5 minutes, stirring frequently, until they are lightly golden and fragrant. Be careful, as they can burn quickly! Alternatively, you can toast them in a single layer on a baking sheet in a preheated oven at 350°F (175°C) for about 5-7 minutes. Once toasted, let them cool slightly before proceeding. If you’re using walnuts or pumpkin seeds, the toasting process is also highly recommended to bring out their best flavors.
Combine the Base Ingredients:
Now it’s time to bring our pesto to life in a food processor or a powerful blender. Add the toasted pine nuts (or your chosen substitute), peeled garlic cloves, and the salt to the bowl. Give these a quick pulse or two until they are coarsely chopped. This initial pulse helps to break down the nuts and garlic before adding the softer ingredients, ensuring a more even consistency in the end. Don’t over-process at this stage; we’re just starting to get things moving.
Add the Greens, Liquid, and Flavor Boosters:
Next, add the packed basil leaves to the food processor. Now, drizzle in the fresh lemon juice and the extra virgin extract olive oil. If you’re using the nutritional yeast for that cheesy, savory kick, add it in now as well. Pulse the mixture several times. You’ll see the basil start to break down and incorporate with the other ingredients. Scrape down the sides of the food processor occasionally with a spatula to ensure everything is getting evenly processed. Continue to process until the pesto reaches your desired consistency. Some people prefer a chunkier pesto, while others like it very smooth. You control the texture here.
Adjust and Emulsify for Perfect Texture:
This is where you can really fine-tune your pesto. As you’re processing, and if the mixture seems too thick or you want it to be a bit smoother, you can slowly stream in a little more olive oil, about a tablespoon at a time, while the processor is running. This emulsification process creates a richer, more cohesive sauce. Taste your pesto and adjust the seasonings as needed. Does it need a little more salt? A touch more lemon for brightness? Perhaps a tiny pinch more nutritional yeast for extra umami? Don’t be afraid to experiment and make it perfect for your palate. The goal is a vibrant, flavorful, and beautifully textured pesto. Once you’re happy with the flavor and consistency, give it one final pulse to ensure everything is well combined.
Storing Your Dairy-Free Pesto:
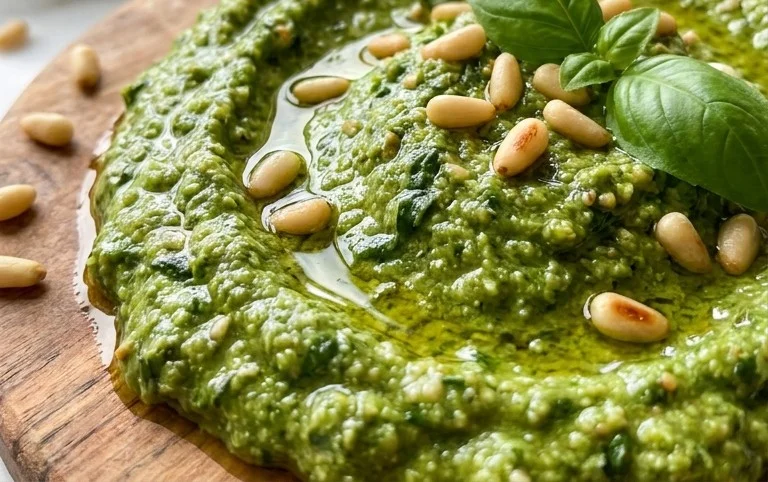
Your delicious dairy-free pesto is now ready to be enjoyed! To store it, transfer the pesto to an airtight container. To prevent browning and preserve its freshness, pour a thin layer of olive oil over the top of the pesto before sealing the container. This acts as a protective barrier. You can store your homemade pesto in the refrigerator for up to a week. For longer storage, consider freezing it. You can freeze it in ice cube trays for convenient single-serving portions, or in small freezer-safe containers. Frozen pesto will last for several months and is a fantastic way to have this amazing flavor on hand whenever you need it. Thaw frozen pesto in the refrigerator or gently warm it on the stovetop.
Conclusion:
I hope you’re as excited as I am to try this wonderfully versatile dairy free pesto! It’s a game-changer for anyone looking to enjoy that classic vibrant flavor without the dairy. The beauty of this recipe lies in its simplicity and adaptability. You can whip up a batch in minutes, and it instantly elevates any dish from ordinary to extraordinary. This dairy free pesto is not just a delicious alternative; it’s a flavor powerhouse that stands on its own. Whether you’re vegan, lactose intolerant, or simply exploring plant-based options, this recipe is a must-have in your culinary repertoire.
Think about all the ways you can use it! Toss it with your favorite pasta for a quick and satisfying meal, spread it on toasted bread for an amazing appetizer, dollop it onto grilled vegetables, or even mix it into a salad dressing for an extra kick. The possibilities are truly endless! Don’t hesitate to experiment with the ingredients to create your own signature blend. Maybe you’ll add a pinch of chili flakes for some heat, or swap out pine nuts for almonds or sunflower seeds for a different nutty depth. I really encourage you to give this dairy free pesto a go – you won’t be disappointed!
Frequently Asked Questions:
Can I make this dairy free pesto ahead of time?
Absolutely! This dairy free pesto stores beautifully in an airtight container in the refrigerator for up to 5 days. I often make a double batch to have on hand for busy weeknights. You might notice a slight color change as it oxidizes, but the flavor remains excellent.
What kind of oil is best for dairy free pesto?
Extra virgin extract olive oil is my top recommendation for its rich flavor and smooth texture. However, you can also experiment with other neutral-flavored oils like avocado oil if you prefer, though it will alter the taste profile slightly.
Can I freeze this dairy free pesto?
Yes, you can! Freezing is a fantastic way to preserve its freshness for longer. You can freeze it in ice cube trays for convenient single-serving portions, or in larger containers. Once frozen, transfer the cubes to a freezer bag for easy storage. Thaw overnight in the refrigerator before using.
Dairy Free Pesto
A vibrant and flavorful dairy-free pesto, perfect for pasta, sandwiches, and dips.
Ingredients
-
3 cups basil
-
1/2 lemon (juiced)
-
1/2 cup pine nuts
-
2 cloves garlic
-
1/4 cup olive oil
-
1/2 tsp salt
-
2 tbsp nutritional yeast
Instructions
-
Step 1
Wash and dry the basil leaves thoroughly. -
Step 2
In a food processor, combine the basil, pine nuts, garlic, and salt. -
Step 3
Pulse until the ingredients are finely chopped. -
Step 4
With the food processor running, slowly drizzle in the olive oil until the pesto is smooth and well combined. -
Step 5
Stir in the lemon juice and nutritional yeast. Taste and adjust seasoning if necessary. -
Step 6
Transfer the pesto to a clean jar or container. Store in the refrigerator.
Important Information
Nutrition Facts (Per Serving)
It is important to consider this information as approximate and not to use it as definitive health advice.
Allergy Information
Please check ingredients for potential allergens and consult a health professional if in doubt.