Easy Homemade Strawberry Ice Cream Recipe
Homemade strawberry ice cream is more than just a dessert; it’s a vibrant explosion of summer’s sweetest bounty captured in a creamy, dreamy swirl. Forget those pnon-alcoholic ale imitations with artificial flavors. When you make your own strawberry ice cream, you unlock an unparalleled depth of flavor that only ripe, sun-kissed strawberries can provide. The aroma alone, as those ruby-red gems transform into a luscious, frozen treat, is enough to transport you to a simpler, happier time. This isn’t just about satisfying a sweet tooth; it’s about creating a pure, unadulterated taste of sunshine. The magic lies in the simplicity – fresh strawberries, rich cream, and a touch of sweetness – coming together to create a truly unforgettable experience. Get ready to fall in love with homemade strawberry ice cream all over again.
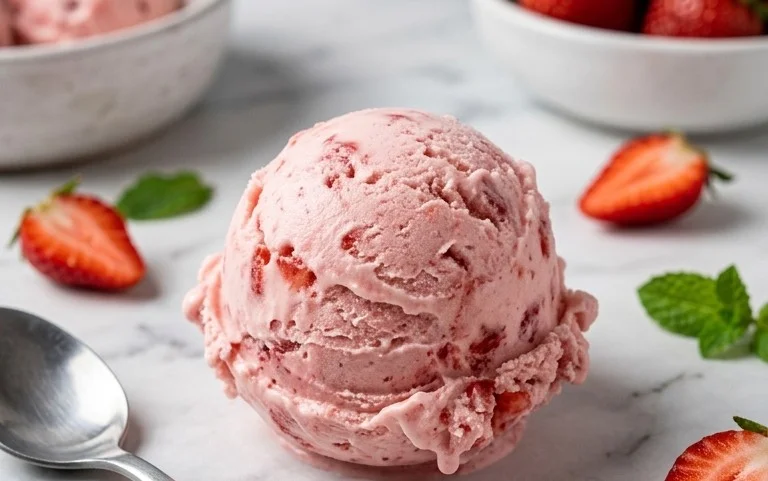
Homemade Strawberry Ice Cream
There’s something undeniably magical about homemade ice cream, and when it comes to classic flavors, few can rival the bright, sweet tang of fresh strawberry. Forget those store-bought tubs with their artificial undertones; this recipe will guide you through creating a truly exceptional strawberry ice cream that bursts with authentic fruit flavor and a luxuriously creamy texture. We’re talking about a dessert that’s as delightful to make as it is to devour. Imagin extracte the sweet aroma filling your kitchen as the fresh strawberries transform into a delightful frozen treat. This is a project that’s both rewarding and surprisingly simple, perfect for a weekend indulgence or a special occasion.
Ingredients:
Creating the Strawberry Base
The heart of any great strawberry ice cream is, of course, the strawberries. We’re going to macerate them to really bring out their natural sweetness and intensify their flavor.
1. Prepare the Strawberries: Start by washing your strawberries thoroughly. Hull them by removing the green leafy tops. Then, dice them into small, manageable pieces. The size of your dice will influence the texture of your ice cream – smaller pieces will break down more readily, while slightly larger ones will offer little bursts of fruity goodness. Place the diced strawberries into a medium-sized bowl.
2. Sweeten and Enhance: To the diced strawberries, add the 2 tablespoons of honey, 1/2 cup of granulated sugar, and 1 teaspoon of lemon juice. The honey adds a lovely depth of flavor, while the sugar provides the essential sweetness. The lemon juice is our secret weapon; it doesn’t make the ice cream tart, but rather it brightens and enhances the natural sweetness and vibrant color of the strawberries, preventing them from tasting flat. Gently stir everything together until the strawberries are well coated.
3. Maceration Magic: Cover the bowl and let the strawberry mixture sit at room temperature for at least 30 minutes, or even up to an hour. This process is called maceration. During this time, the sugar and honey will draw out the natural juices from the strawberries, creating a delicious, syrupy liquid. You’ll see the strawberries soften and release their vibrant red color. This step is crucial for developing a rich strawberry flavor that will permeate the entire ice cream. If you have time, you can even refrigerate the mixture for a few hours for an even more intense flavor infusion.
Crafting the Creamy Ice Cream Mixture
While the strawberries are doing their thing, we’ll prepare the creamy base that will give our ice cream its luxurious texture.
4. Combine the Dairy and Flavorings: In a separate, larger bowl, combine the 1 cup of heavy whipping cream and the 1/2 cup of half and half. The combination of heavy cream and half and half strikes a beautiful balance, providing richness without being overly heavy, and a smooth, creamy mouthfeel. Add the 1 teaspoon of vanilla extract to the dairy mixture. Vanilla is a wonderful complement to strawberries, enhancing their sweetness and adding another layer of comforting flavor. Whisk these ingredients together until they are well combined and smooth.
Combining and Churning
Now it’s time to bring everything together for the final transformation. For this, you’ll need an ice cream maker.
5. Integrate the Strawberry Mixture: Once the strawberries have macerated and released their juices, gently fold them into the cream mixture. You can choose to leave some strawberry pieces whole, or you can lightly mash some of them against the side of the bowl with a fork before adding them to the cream for a more uniform flavor. Aim for a gentle fold, as you don’t want to overmix or break down the strawberries too much. The goal is to distribute them throughout the creamy base.
6. Churning to Perfection: Pour the combined strawberry and cream mixture into your ice cream maker. Follow the manufacturer’s instructions for your specific ice cream maker. Typically, this involves churning for about 20-30 minutes, or until the mixture has thickened to a soft-serve consistency. During the churning process, the ice cream maker whips air into the mixture while simultaneously freezing it, which is what creates that signature smooth and creamy texture. Be patient during this stage; the texture will develop gradually.
Freezing for Ultimate Enjoyment
The final step is to let the ice cream firm up in the freezer.
7. Final Freeze: Once the ice cream has reached the desired soft-serve consistency in your ice cream maker, transfer it to an airtight container. For the best texture, press a piece of parchment paper or plastic wrap directly onto the surface of the ice cream before sealing the container. This helps prevent ice crystals from forming. Place the container in the freezer for at least 4-6 hours, or until it’s firm enough to scoop. The longer it freezes, the harder it will become. Allow it to soften slightly at room temperature for a few minutes before scooping for the best results. Enjoy your incredibly delicious, homemade strawberry ice cream!
Conclusion:
Making your own homemade strawberry ice cream is such a rewarding experience, and I truly hope you’ll give this recipe a try! The vibrant, fresh flavor of real strawberries shines through in every spoonful, far surpassing anything you’ll find in a store-bought pint. It’s wonderfully creamy, beautifully pink, and surprisingly simple to whip up. The satisfaction of knowing exactly what goes into your dessert, without artificial flavors or preservatives, is just fantastic. This recipe is a celebration of summer and a truly delightful treat for any occasion, from a casual family gathering to a special dessert for friends. Don’t be intimidated; it’s more accessible than you might think!
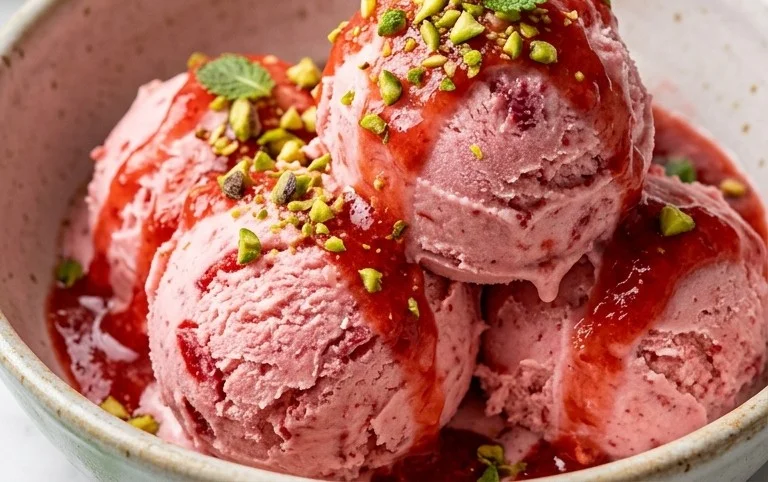
Serve this luscious homemade strawberry ice cream on its own for pure, unadulterated deliciousness. It’s also divine topped with a drizzle of fresh strawberry sauce, a sprinkle of toasted almonds, or a dollop of whipped cream. For a truly decadent experience, pile it high on a warm waffle or in a freshly baked brownie. Feeling adventurous? Consider adding a splash of balsamic glaze for a sweet and tangy twist, or a handful of dark chocolate chips for a delightful textural contrast. The possibilities are endless, and the results are always spectacular. So gather your ingredients and get ready to create your own perfect scoop!
Frequently Asked Questions:
Can I make this recipe without an ice cream maker?
Absolutely! While an ice cream maker creates the smoothest texture, you can achieve delicious results without one. You’ll need to freeze the mixture in a shallow container and stir it vigorously with a fork or whisk every 30-45 minutes for the first 2-3 hours to break up ice crystals. It won’t be quite as silky smooth, but it will still be wonderfully flavorful and creamy.
What if my strawberries aren’t very sweet?
If your strawberries are a bit tart, you can adjust the sugar in the recipe to your preference. Start with the recommended amount, and then taste the base before churning. You can always add a little more sugar (or a touch of honey or maple syrup for a different flavor profile) until it reaches your desired sweetness. Remember that the sweetness will be slightly less pronounced once the ice cream is frozen.
How long will homemade strawberry ice cream last?
For the best texture and flavor, homemade strawberry ice cream is best enjoyed within 1-2 weeks. After that, it can start to develop ice crystals and lose some of its creamy consistency. Make sure to store it in an airtight container in the coldest part of your freezer.
Homemade Strawberry Ice Cream
A simple and delicious homemade strawberry ice cream recipe using fresh ingredients.
Ingredients
-
1 1/2 cups strawberries, hulled and diced
-
2 Tbsp honey
-
1/2 cup granulated sugar
-
1 tsp lemon juice
-
1 cup heavy whipping cream
-
1/2 cup half and half
-
1 tsp vanilla extract
Instructions
-
Step 1
Combine diced strawberries, honey, granulated sugar, and lemon juice in a bowl. Let sit for 15-20 minutes to macerate. -
Step 2
Mash the strawberries with a fork or potato masher until mostly smooth, leaving some chunks for texture. -
Step 3
In a separate bowl, whisk together the heavy whipping cream, half and half, and vanilla extract until well combined. -
Step 4
Gently fold the mashed strawberry mixture into the cream mixture. -
Step 5
Pour the mixture into an ice cream maker and churn according to the manufacturer’s instructions. -
Step 6
Transfer the churned ice cream to an airtight container and freeze for at least 4 hours, or until firm.
Important Information
Nutrition Facts (Per Serving)
It is important to consider this information as approximate and not to use it as definitive health advice.
Allergy Information
Please check ingredients for potential allergens and consult a health professional if in doubt.