Refreshing Watermelon Cake Recipe – Easy & Delicious
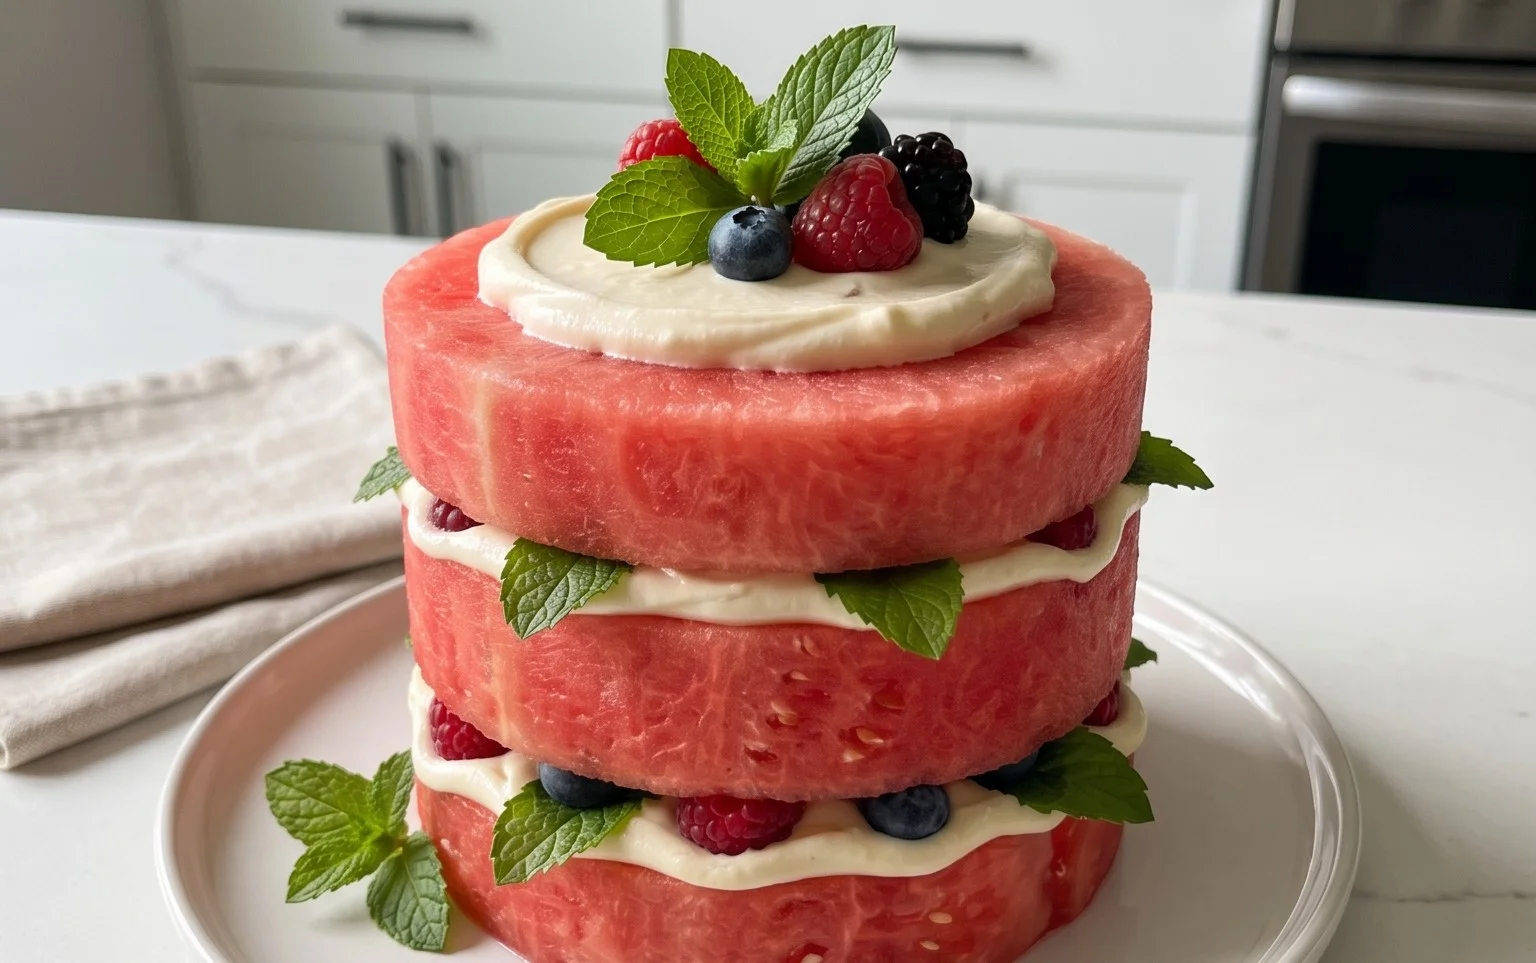
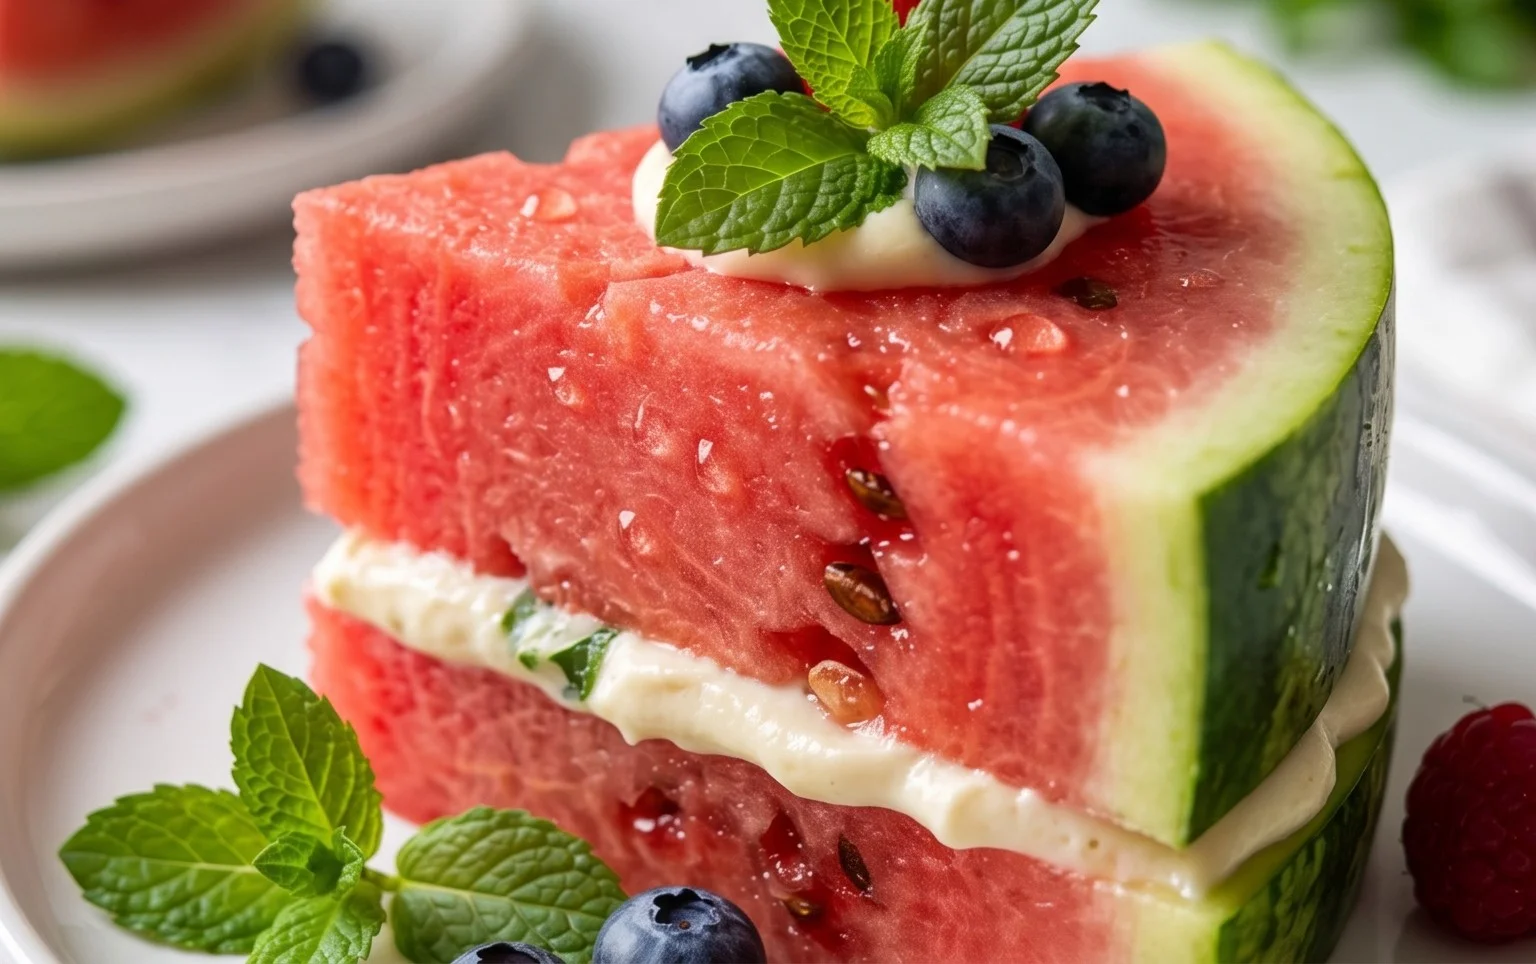
Watermelon cake is more than just a dessert; it’s a vibrant celebration of summer’s sweetest bounty. Imagin extracte the pure joy of biting into a slice that’s as refreshing as it is visually stunning. This isn’t your average flour-based creation. Instead, the star of this watermelon cake is, you guessed it, watermelon itself! People adore this dish because it offers an incredibly light and healthy alternative to traditional cakes, perfect for those hot days when you crave something sweet but don’t want the heaviness. What truly makes it special is its ingenious transformation. We take the natural sweetness and juicy texture of watermelon and artfully craft it into a cake-like form, often adorned with whipped cream and fresh berries, mimicking a classic frosted cake without any of the guilt. Get ready to amaze your friends and family with this show-stopping, guilt-free delight!
Watermelon Cake: A Refreshing Summer Masterpiece
Hello there, fellow dessert enthusiasts! Today, we’re diving into a truly spectacular and surprisingly simple creation: a Watermelon Cake. Forget flour and baking – this is a celebration of pure, unadulterated summer flavor. Imagin extracte a vibrant, refreshing “cake” made entirely from juicy watermelon, adorned with a medley of fresh berries and a hint of mint. It’s a showstopper for any picnic, barbecue, or just a delightful treat on a warm afternoon. It’s not only beautiful but also incredibly healthy and satisfying. Let’s get started on crafting this edible work of art!
Ingredients:
Preparing Your Watermelon “Cake” Layers
The foundation of our watermelon cake is, of course, the watermelon itself. We’ll be using two different sizes to create a tiered effect, giving it that classic cake silhouette.
Step 1: Shaping the Base Layer
Start with your large watermelon. You’ll want to create a solid, round “cake” layer from this. The key here is to get a clean, flat surface. First, carefully slice off the top and bottom of the large watermelon to create flat ends. Then, using a sharp knife, carefully trim away the rind, working your way around the watermelon in a circular motion. Your goal is to create a cylindrical shape, essentially a giant disc of pure watermelon flesh. Don’t worry if it’s not perfectly round; a slightly rustic shape adds to its charm. You can then use a large cookie cutter (if you have one that’s watermelon-sized!) or simply trim with your knife to achieve a more uniform thickness and shape. Aim for a thickness of about 2-3 inches for this base layer.
Step 2: Creating the Top Tier
Now, take your smaller watermelon. We’ll repeat the process from Step 1, but with this smaller fruit. Slice off the top and bottom to create flat surfaces, then carefully trim away the rind to form a smaller cylinder. This will be our top tier. Again, aim for a similar thickness as the base layer, around 2-3 inches. The contrast in size will give our cake visual appeal. For this smaller tier, it might be easier to trim and shape it while it’s still sitting on the cutting board.
Assembling Your Watermelon Masterpiece
With our watermelon “cake” layers prepared, it’s time to bring them together and add our delightful toppings.
Step 3: Stacking and Securing the Tiers
Gently place the larger watermelon disc onto your serving platter or cake stand. This will be the base of our cake. Now, carefully lift the smaller watermelon disc and place it on top of the larger one. To ensure stability, especially if you plan to move the cake, you’ll want to secure the tiers. For this, we’ll use our wood skewers. Insert one or two long wood skewers vertically through the center of the top tier and into the base tier. Push them down until they are firmly in place. You might need to adjust them slightly to ensure they are straight. Be mindful not to push them all the way through the bottom layer. These skewers act as internal support, preventing the cake from wobbling or collapsing.
Step 4: Decorating with Berries and Grapes
This is where the real magic happens! We’re going to use our beautiful fresh fruits to “frost” and decorate our watermelon cake. You can arrange the grapes around the base of the cake, almost like a decorative border. Then, start pressing the blueberries, blackberries, and raspberries onto the sides and top of the watermelon tiers. Think of it like decorating a traditional cake with frosting. You can create patterns, cover the entire surface, or just strategically place them for a more artistic look. For berries that might not stick easily, you can use wood toothpicks to gently secure them to the watermelon flesh. Insert a toothpick into the berry and then gently push the other end into the watermelon. This is especially helpful for berries on the sides. Don’t be afraid to mix and match the colors and textures for a vibrant display.
Step 5: Adding the Finishing Touches with Mint
Finally, we’ll add a touch of freshness and elegance with our fresh mint leaves. Tuck small sprigs of mint in between the berries and grapes, especially around the top edge of the cake and around the base. This not only adds a beautiful green contrast but also releases a lovely aroma that complements the sweetness of the fruit. You can also create a small “bouquet” of mint at the very top center of the cake for a final flourish. The mint leaves will also help to visually break up the solid mass of berries and add a sophisticated touch.
Once your watermelon cake is fully decorated, it’s ready to be presented! It’s best served chilled, so if you haven’t already, pop it in the refrigerator for about 30 minutes before serving. To serve, you can use a sharp knife to cut wedges, much like a traditional cake. This is a fun and healthy dessert that will surely impress your guests and is perfect for beating the summer heat. Enjoy every refreshing bite!
Conclusion:
I hope you’re as excited to try this Watermelon Cake as I am! This recipe is a showstopper for several reasons: it’s incredibly refreshing, surprisingly easy to assemble, and offers a visually stunning presentation that’s perfect for any summer celebration or just a fun afternoon treat. The natural sweetness of the watermelon, combined with the creaminess of the frosting and the delightful crunch of the toppings, creates a flavor and texture profile that’s truly unique and satisfying. It’s a fantastic alternative to traditional baked cakes, especially on hot days, and a wonderful way to enjoy the bounty of summer fruit.
Serving suggestions abound! Imagin extracte this beautiful Watermelon Cake as the centerpiece of a picnic, a birthday party, or a casual barbecue. It’s also a fantastic dessert for a bridal shower or baby shower, adding a playful and vibrant touch. For variations, consider adding a sprinkle of toasted coconut flakes for extra texture, a drizzle of honey or agave nectar for added sweetness, or even some fresh mint leaves for a burst of cooling flavor. Feel free to experiment with different fruit toppings like berries or sliced peaches. I truly encourage you to give this Watermelon Cake a try; you won’t be disappointed by its delicious simplicity and impressive appeal!
Frequently Asked Questions:
How long does the Watermelon Cake need to chill before serving?
For best results and to allow the flavors to meld and the cake to firm up properly, I recommend chilling the Watermelon Cake for at least 2-3 hours. Overnight chilling will yield an even firmer and more sliceable cake.
Can I make this Watermelon Cake ahead of time?
Yes, you can absolutely make this Watermelon Cake ahead of time! It’s often even better when it has a chance to chill and set. Just be sure to store it in the refrigerator and add any delicate garnishes like fresh berries right before serving.
What’s the best way to cut the Watermelon Cake?
A sharp, thin knife is your best friend here! For clean slices, it’s helpful to wipe the knife clean between each cut. Since it’s not a traditional baked cake, don’t expect perfectly sharp edges, but a gentle sawing motion will work wonders.
Watermelon Cake
A refreshing and festive cake made entirely from fresh fruit, perfect for summer gatherings.
Ingredients
-
1 large Watermelon
-
1 small Watermelon
-
20 Wood Skewers
-
50 Wood Toothpicks
-
2 cups Grapes
-
1 cup Blueberries
-
1 cup Blackberries
-
1 cup Raspberries
-
1/4 cup Fresh Mint, chopped
Instructions
-
Step 1
Cut the top off the large watermelon to create a stable base. Scoop out the flesh, leaving about a 1-inch thick rind wall. Reserve the scooped watermelon flesh. -
Step 2
Cut the small watermelon in half. Remove any seeds from the scooped watermelon flesh and dice it into bite-sized pieces. -
Step 3
Arrange the diced watermelon flesh inside the hollowed-out large watermelon rind, pressing it down to form a compact cake-like structure. You can also add some of the diced small watermelon. -
Step 4
Decorate the ‘cake’ by inserting grapes, blueberries, blackberries, and raspberries into the watermelon. Use wood skewers to secure larger fruits if needed. -
Step 5
Use wood toothpicks to attach small clusters of berries and mint leaves for intricate designs. -
Step 6
Chill the watermelon cake for at least 15 minutes before serving. Garnish with additional fresh mint.
Important Information
Nutrition Facts (Per Serving)
It is important to consider this information as approximate and not to use it as definitive health advice.
Allergy Information
Please check ingredients for potential allergens and consult a health professional if in doubt.